If there’s one dessert that always feels like a celebration, it’s cheesecake—especially the Classic New York Cheesecake. Thank you for being here to share this timeless recipe with me. 💛 I truly believe that a homemade cheesecake is an act of love, whether you’re baking it for a holiday table, a birthday, or simply a Tuesday treat-yourself moment.
And once you’ve had that first creamy, tangy, melt-in-your-mouth bite, you’ll never look at store-bought the same way again.
💌 Want more tried-and-true dessert recipes? Subscribe to get my favorite sweets delivered straight to your inbox!
Why You’ll Love This Cheesecake
🍰 Rich, creamy, and smooth: Just like the classic New York deli version.
🧈 Simple ingredients, no fancy techniques: Pure, straightforward baking magic.
🕒 Make-ahead friendly: Cheesecake actually tastes better the next day!
🍓 Versatile: Serve plain or top with berries, caramel, or chocolate.
❄️ Freezer-friendly: Perfect for when you want dessert on demand.
The first time I made this cheesecake, I was nervous about cracks, overbaking, and all the what-ifs. But with a few careful steps, it came out perfect—tall, creamy, and absolutely flawless. You can do this too!
What It Tastes Like
This cheesecake is dense yet velvety, with a buttery graham cracker crust that adds the perfect contrast to the smooth, tangy filling. Each bite is a balance of sweet, creamy richness and a gentle tang, the kind of flavor that lingers in the best way possible.
It’s indulgent, classic, and completely unforgettable.
Ingredients
For the Crust
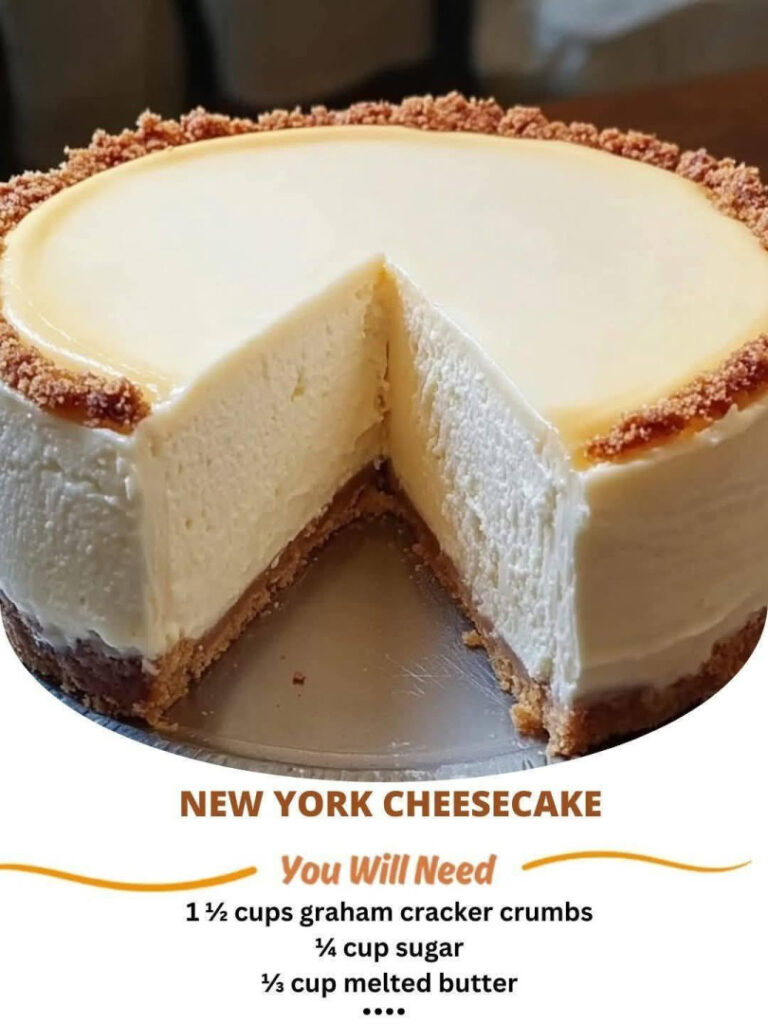
- 1 ½ cups (150g) graham cracker crumbs
- ¼ cup (50g) granulated sugar
- ⅓ cup (75g) unsalted butter, melted
For the Filling
- 4 (8 oz) packages cream cheese, softened (900g total)
- 1 ¼ cups (250g) granulated sugar
- 1 cup (240g) sour cream
- 1 teaspoon vanilla extract
- 4 large eggs, room temperature
Tools You’ll Need
- 9-inch springform pan
- Electric mixer (stand or hand)
- Rubber spatula
- Large mixing bowls
- Baking sheet or roasting pan (for water bath, optional but recommended)
Ingredient Additions & Substitutions
💡 Crust twist: Use crushed digestive biscuits or chocolate cookies for a different flavor.
💡 Flavor boost: Add a teaspoon of lemon zest or almond extract to the batter.
💡 Topping ideas: Fresh berries, salted caramel, chocolate ganache, or fruit compote.
💡 Lighter option: Substitute light cream cheese and Greek yogurt for a slightly lower-fat version.
Step-by-Step Instructions
Step 1: Prepare the Crust
- Preheat oven to 325°F (160°C).
- In a bowl, mix graham cracker crumbs, sugar, and melted butter until evenly combined.
- Press the mixture firmly into the bottom (and slightly up the sides) of a 9-inch springform pan.
- Bake for 10 minutes, then let it cool while you make the filling.
Step 2: Make the Filling
- Beat softened cream cheese with an electric mixer on medium speed until smooth and creamy (about 2–3 minutes).
- Add sugar and beat again until fluffy.
- Mix in sour cream and vanilla extract.
- Add eggs one at a time, mixing on low just until blended. (Avoid overmixing—it can cause cracks!)
Step 3: Pour & Smooth
Pour the filling into the cooled crust and smooth the top with a spatula.
Step 4: Bake the Cheesecake
For the creamiest texture:
- Place the springform pan inside a larger baking pan and pour about 1 inch of hot water around it (this is your water bath).
- Bake for 55–70 minutes, or until the center is slightly jiggly but the edges are set.
Without a water bath:
- Simply bake on the center rack at 325°F and place a pan of water on a lower rack to help prevent cracking.
Step 5: Cool Slowly
Turn off the oven and crack the door open slightly. Let the cheesecake sit inside for 1 hour to cool gradually. This helps prevent cracks.
Step 6: Chill & Serve
Refrigerate for at least 4 hours, preferably overnight. Once chilled, remove from the pan, slice with a warm knife, and serve plain or with your favorite toppings.
Serving Suggestions
- Fresh strawberry or blueberry sauce
- Drizzle of salted caramel or hot fudge
- A light dusting of powdered sugar for elegance
- A dollop of whipped cream for extra indulgence
Tips for the Perfect New York Cheesecake
⭐ Room temperature ingredients are key! They blend smoothly for a lump-free batter.
⭐ Don’t overmix. Too much air causes cracks and dryness.
⭐ Use a water bath. It creates gentle, even heat for that perfect texture.
⭐ Chill overnight. Cheesecake flavor and texture improve as it sets.
⭐ Run a knife around the edge right after baking to prevent cracks as it cools.
Storage Instructions
- Refrigerate: Store covered in the fridge for up to 5 days.
- Freeze: Wrap slices individually in plastic wrap and foil; freeze up to 2 months. Thaw overnight in the refrigerator before serving.
General Information
- Prep Time: 20 minutes
- Cook Time: 1 hour
- Cooling + Chilling: 5 hours
- Total Time: 6 hours 20 minutes
- Servings: 10–12
- Difficulty: Moderate
Frequently Asked Questions (FAQ)
Q: Why did my cheesecake crack?
Cracks often come from overmixing or cooling too quickly. Follow the slow-cooling method and use a water bath to prevent them.
Q: Can I skip the water bath?
You can, but the texture may be slightly less creamy. A pan of water on the rack below helps, too!
Q: Can I make mini cheesecakes with this recipe?
Absolutely! Divide the crust and filling into muffin tins and bake for about 20–25 minutes.
Q: Can I freeze this cheesecake?
Yes! Wrap tightly and freeze for up to 2 months. Thaw in the fridge before serving for the best texture.
Nutritional Information (Approx. per slice)
- Calories: 460
- Protein: 8g
- Fat: 36g
- Carbohydrates: 28g
- Sugar: 23g
Conclusion
This Classic New York Cheesecake is pure dessert perfection—rich, creamy, and timeless. It’s the kind of showstopper that brings joy to every occasion, whether it’s a holiday dinner or a cozy night in.
Once you’ve mastered this version, the possibilities are endless—top it, swirl it, or enjoy it just as it is. One forkful in, and you’ll know exactly why it’s a true classic.
💬 I’d love to see your cheesecake creations!
Leave a comment, rate the recipe, or share a photo on Pinterest and tag me—I can’t wait to see how beautifully yours turns out!


Leave a Reply