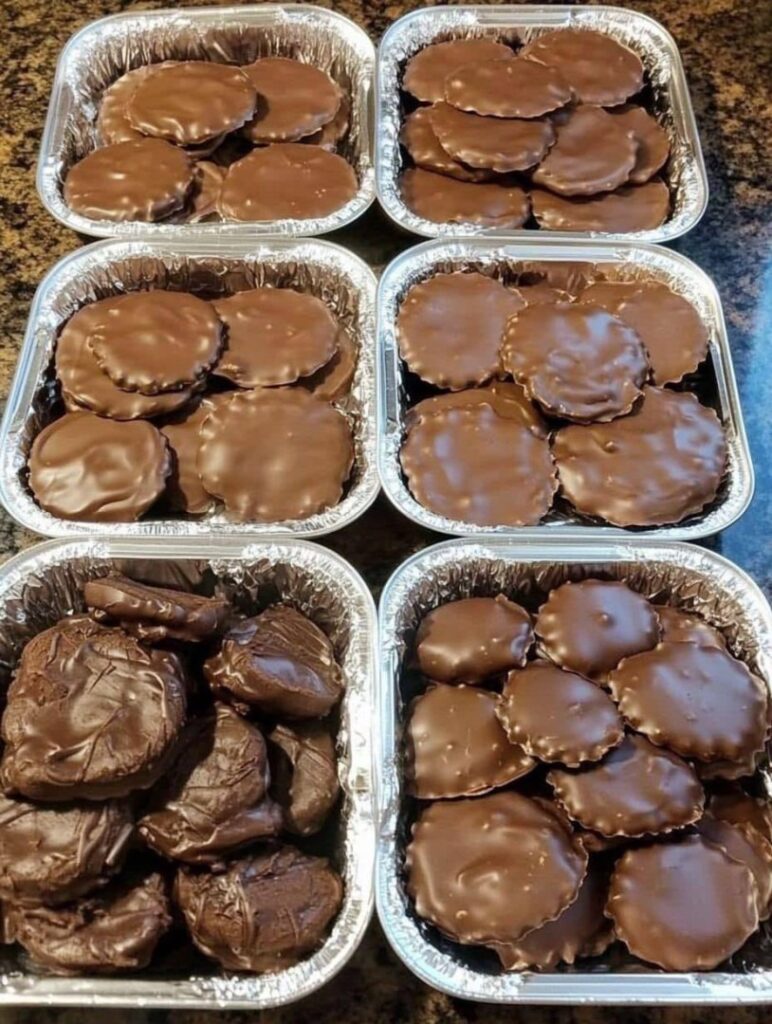
There’s something so nostalgic and heartwarming about the simple combination of chocolate, caramel, and pecans — it’s like a hug in candy form. These Classic Turtle Candies have been a family favorite for generations, and every time I make them, the smell of toasted pecans and melted chocolate brings me right back to my grandmother’s kitchen.
Before we dive in — if you’d like this recipe (and others like it!) delivered straight to your inbox, don’t forget to subscribe to my newsletter below. I share tried-and-true classics, new creations, and a few secret tips I only send to my email family.
Why You’ll Love This Recipe
There’s a reason “turtles” have become a candy classic — they’re anything but boring! Each bite is a delightful mix of crunchy, buttery pecans, soft, chewy caramel, and smooth, melt-in-your-mouth chocolate.
You’ll love this recipe because:
- It requires only a handful of ingredients.
- You can make them in under an hour.
- They store beautifully (if they last that long!).
- They make gorgeous homemade gifts for holidays and parties.
What Do Turtle Candies Taste Like?
Imagine biting into a little round of heaven: the nutty warmth of toasted pecans meets a buttery caramel pull, all wrapped in a luscious blanket of chocolate. They’re sweet, salty, and just the right amount of chewy — a perfect balance that keeps you reaching for just one more.
Benefits of Making These Candies
Aside from their unbeatable flavor, these candies are:
- Budget-friendly: Homemade turtles cost a fraction of store-bought versions.
- Customizable: Choose your favorite chocolate — milk, dark, or white — and make them your own.
- Perfectly portioned: Small enough to satisfy a craving without overindulging.
Ingredients You’ll Need
- 2 cups pecan halves
- 25–30 soft caramels (like Kraft or Werther’s)
- 2 tablespoons heavy cream
- 2 cups chocolate chips (milk, dark, or semi-sweet)
- 1 tablespoon coconut oil or butter (optional, for smoother chocolate)
- Sea salt flakes, for topping (optional)
Tools You’ll Need
- Baking sheet
- Parchment paper or silicone mat
- Microwave-safe bowls
- Spoon or small scoop
- Airtight storage container
Ingredient Substitutions & Additions
- No pecans? Try walnuts, almonds, or cashews.
- Dairy-free version: Use coconut milk in place of heavy cream and dairy-free chocolate.
- Feeling fancy? Drizzle white chocolate or caramel over the top once they’re set for a stunning finish.
How to Make Classic Turtle Candies
Step 1: Toast the Pecans (Optional but Recommended)
Toasting brings out their deep, nutty flavor.
- Preheat oven to 350°F (175°C).
- Spread pecans in a single layer on a baking sheet.
- Toast for 6–8 minutes, stirring halfway through.
- Let cool completely.
Step 2: Arrange the Pecans
- Line a baking sheet with parchment paper.
- For each candy, arrange 3–4 pecan halves in a “Y” or cross shape — your turtle’s “legs.”
Step 3: Melt and Add the Caramel
- In a microwave-safe bowl, combine caramels and 2 tbsp heavy cream.
- Microwave in 30-second intervals, stirring until smooth.
- Drop a spoonful of caramel over the center of each pecan cluster.
- Let set for 10–15 minutes.
Step 4: Melt the Chocolate
- Combine chocolate chips and 1 tbsp coconut oil in a bowl.
- Microwave in 20–30 second bursts, stirring until glossy.
- Spoon over each caramel cluster.
- Sprinkle with sea salt, if desired.
Step 5: Chill and Set
- Refrigerate for 30–45 minutes until firm.
- Store in an airtight container at room temperature (cool environments) or in the fridge.
What to Serve with Turtle Candies
Serve them with:
- A cup of coffee or espresso for a rich afternoon treat.
- Vanilla ice cream — chop up a few candies and sprinkle them on top!
- A dessert charcuterie board with fruits, pretzels, and nuts.
Tips for Perfect Turtle Candies
- Don’t skip the toasting! It adds so much flavor.
- Use high-quality chocolate — it makes all the difference.
- Let the caramel cool slightly before adding chocolate to prevent melting.
- For a gift-worthy look, place each candy in a mini cupcake liner.
Storage Instructions
- Room temperature: Up to 1 week in an airtight container.
- Refrigerator: Up to 3 weeks.
- Freezer: Up to 2 months (separate layers with parchment).
Frequently Asked Questions
Can I use homemade caramel?
Absolutely! Just make sure it’s thick enough to hold shape once cooled.
Can I make these without a microwave?
Yes — melt your caramel and chocolate on the stovetop over low heat, stirring constantly.
How can I keep my chocolate shiny?
Add a bit of coconut oil or butter to help the chocolate set with a glossy finish.
Nutritional Information (Approx. per candy)
- Calories: 160
- Fat: 10g
- Carbs: 18g
- Sugar: 15g
- Protein: 2g


Leave a Reply