First off, thank you so much for being here. Whether you’ve been part of this little kitchen community for years or just stumbled upon my corner of the internet, it truly means the world to me that you’re reading this. Recipes like this remind me why I love sharing simple, comforting treats with you all — they celebrate the beauty of everyday ingredients and the joy of slowing down to savor something sweet.
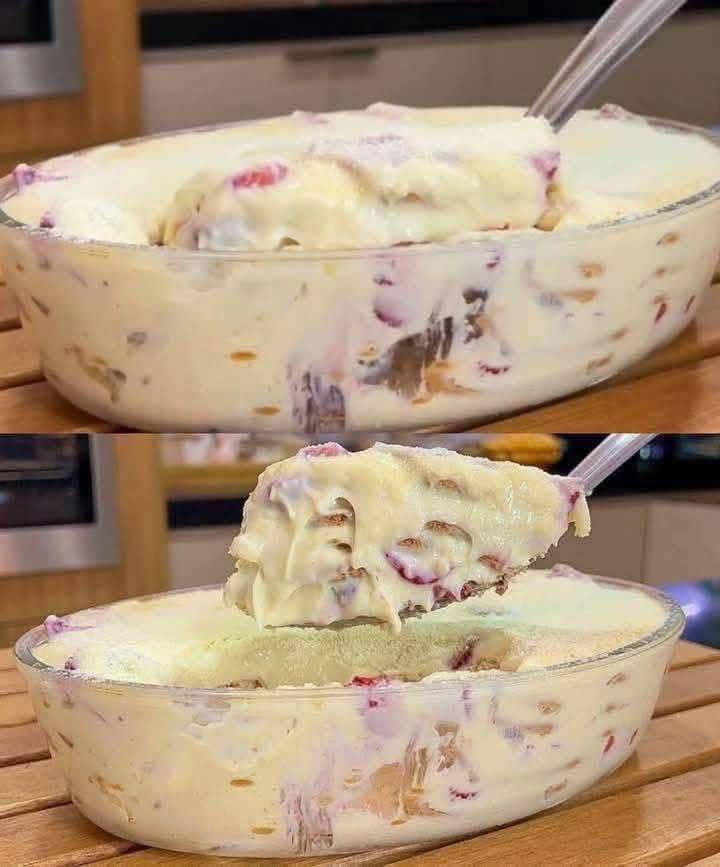
And today? We’re diving into one of the easiest, dreamiest, no-bake desserts you’ll ever make — a Creamy Layered Biscuit and Fresh Fruit Dessert that’s part trifle, part icebox cake, and 100% heaven.
It’s cool, creamy, fruity, and honestly feels like a hug in dessert form. Perfect for summer gatherings, family dinners, or those quiet moments when you just want something sweet without turning on the oven.
💌 Want more recipes like this? Subscribe below to have my latest no-bake classics delivered straight to your inbox — because dessert should always be this easy and this good!
What Is This Creamy Layered Biscuit and Fruit Dessert?
Think tiramisu meets fruit trifle — but simpler, lighter, and more refreshing. Layers of soft biscuits or graham crackers nestle between clouds of sweetened cream and colorful slices of fresh fruit. As it chills, the biscuits soften just enough to become cake-like, soaking up all that creamy sweetness.
The result is an irresistibly soft, chilled dessert that tastes like summer and comfort rolled into one spoonful.
Why You’ll Love This Recipe
- ✅ No oven needed — perfect for warm weather or busy days.
- ✅ Only 6 main ingredients — you probably already have most of them.
- ✅ Make-ahead magic — it gets better as it chills.
- ✅ Customizable — switch up fruits, biscuits, or flavors to your taste.
- ✅ Looks fancy, feels effortless — your guests will think you spent hours!
When I first made this, my family didn’t even wait for it to chill completely — they hovered with spoons, and we ended up digging in straight from the dish. It’s that good.
What Does It Taste Like?
Oh, it’s creamy, dreamy, and delicately sweet with pops of juicy fruit in every bite. The biscuits soften into layers that taste almost like sponge cake, while the cream stays silky and light. Each spoonful has that perfect contrast — rich yet refreshing, indulgent yet not too heavy.
It’s one of those desserts you find yourself going back to for just one more bite.
Benefits of This Recipe
- Quick to prepare — only about 15 minutes of assembly.
- Great for entertaining or meal prep — chills beautifully overnight.
- Flexible — swap in whatever fruits are in season.
- Kid-friendly and crowd-approved.
Ingredients You’ll Need
- 2 cups heavy cream (or pre-whipped cream)
- 1 can (400g) sweetened condensed milk
- 1 teaspoon vanilla extract
- 2 cups mixed fresh fruits (strawberries, blueberries, raspberries, mango, or peaches)
- 200g biscuits or graham crackers
- Optional: ½ cup milk (for dipping biscuits to soften)
Tools You’ll Need
- Mixing bowls
- Hand or stand mixer
- Spatula
- Knife & cutting board
- Rectangular or oval dish (8×8 or 9×13-inch works best)
- Plastic wrap or lid for chilling
Optional Add-ins & Substitutions
🍓 Fruit swaps: Kiwi, pineapple, or canned peaches all work beautifully.
🍌 Add bananas just before serving for an extra creamy touch.
🍫 Add some crunch: Sprinkle chopped nuts, crushed cookies, or shaved chocolate between layers.
🍪 Biscuit alternatives: Ladyfingers, vanilla wafers, or digestive biscuits.
🌿 Flavor twist: Add lemon zest for brightness or swap vanilla for almond extract.
How to Make the Creamy Biscuit and Fruit Dessert
Step 1: Whip the Cream
In a large bowl, beat the heavy cream until soft peaks form. Gently fold in the sweetened condensed milk and vanilla extract until smooth and creamy. Set aside.
Step 2: Prep the Biscuits
If desired, dip each biscuit lightly in milk for 2–3 seconds to soften (don’t soak too long or they’ll fall apart).
Step 3: Layer It Up
Start with a layer of biscuits in your dish. Spread a generous layer of the cream mixture over top, then scatter an even layer of fresh fruit. Repeat layers until you run out of ingredients, ending with a layer of cream on top.
Step 4: Chill
Cover with plastic wrap and refrigerate for at least 4–6 hours (or overnight for best texture). The biscuits will soften beautifully into a cake-like texture as it chills.
Step 5: Garnish & Serve
Before serving, top with extra fruit, mint leaves, or a drizzle of chocolate sauce for a pretty finish. Slice or spoon into bowls and enjoy cold!
What to Serve With This Dessert
- A cup of iced coffee or sweet tea
- A scoop of vanilla ice cream on the side
- Or serve it simply on its own — it’s perfect as is
Tips for the Best No-Bake Dessert
- Always chill long enough for the biscuits to soften completely.
- Use fresh, firm fruit to prevent excess moisture.
- Don’t overbeat the cream — stop at soft peaks for the fluffiest texture.
- For a lighter version, use whipped topping and low-fat condensed milk.
Storage Instructions
- Fridge: Keep covered and chilled for up to 3 days.
- Freezer: Store for up to 2 weeks (thaw overnight in the fridge).
- Make-ahead: Assemble the night before an event — it tastes even better the next day!
Frequently Asked Questions
Q: Can I use canned fruit instead of fresh?
Yes, just drain it well so the dessert doesn’t get soggy.
Q: Can I make this in individual cups or jars?
Absolutely — they look adorable and make for easy serving.
Q: Can I replace condensed milk with sugar?
You can, but condensed milk gives it that rich, creamy sweetness that really ties it all together.
General Information
Prep Time: 15 minutes
Chill Time: 4–6 hours
Total Time: 15 minutes active, plus chilling
Yield: 8–10 servings
Difficulty: Easy
Cuisine: International / No-Bake
Dietary: Vegetarian
Nutritional Information (Approx. per Serving)
- Calories: 280
- Fat: 16g
- Carbohydrates: 32g
- Protein: 4g
- Sugar: 25g
(These are estimates and vary based on your ingredients.)
Conclusion
And there you have it — a Creamy Layered Dessert with Biscuits and Fresh Fruits that’s cool, luscious, and utterly foolproof. Whether you’re hosting friends or just craving something sweet after dinner, this no-bake treat brings sunshine to the table every single time.
It’s one of those recipes that feels special yet comes together in minutes. I promised you “no-bake heaven,” and here’s proof. 🌸


Leave a Reply