There’s something uniquely special about the process of making your own sourdough starter. Each day unfolds a new chapter of anticipation as the tantalizing aroma of fermentation fills your kitchen. With just flour and water, you’re not merely mixing ingredients; you’re cultivating a living ecosystem brimming with potential. I first embarked on this culinary adventure during a lazy Sunday afternoon, yearning for that warm, crusty loaf with a tang that only a homemade starter can yield.
As the world around us moves faster, this simple yet rewarding process invites a moment of mindfulness into your kitchen. It requires a bit of patience, but I promise the delight you’ll feel when your starter bubbles and doubles in size is second to none. Imagine the joy of pulling a fresh loaf from the oven, its crust crackling and its interior airy, all thanks to your very own sourdough starter. Let’s dive into this journey and unlock the art of baking together!
Why is a Sourdough Starter so special?
Cultivation, the magic of creating your own sourdough starter transforms simple flour and water into a bubbling, living entity. Simplistic, it requires just two ingredients and a bit of patience, making it accessible for everyone. Flavorful, the unique fermentation process yields a depth of flavor that elevates any bread you bake. Versatile, your sourdough starter can be the base for not only bread but also pancakes and crackers. Plus, rewarding, watching your starter grow and thrive is a gratifying experience, leading to satisfying homemade creations that your loved ones will rave about!
Sourdough Starter Ingredients
Let’s gather the essentials to embark on your homemade sourdough adventure!
For the Starter
• Flour – Whole wheat or unbleached all-purpose flour works best; this is the foundation that feeds the yeast and bacteria.
• Water – ¼ to ⅓ cup clean, preferably filtered water; this is crucial for activating the flour and initiating fermentation.
To Ferment
• Jar or Bowl – 1 glass jar or bowl (about 32 ounces) is ideal; it keeps your starter safe and secure during its transformation.
• Paper Towel – 1 paper towel is needed; this covers the jar to allow airflow while preventing unwanted debris from entering.
• Rubber Band – 1 rubber band will hold the paper towel in place; it provides easy access to your bubbling starter.
Embrace this simple yet fulfilling process as you create your very own sourdough starter!
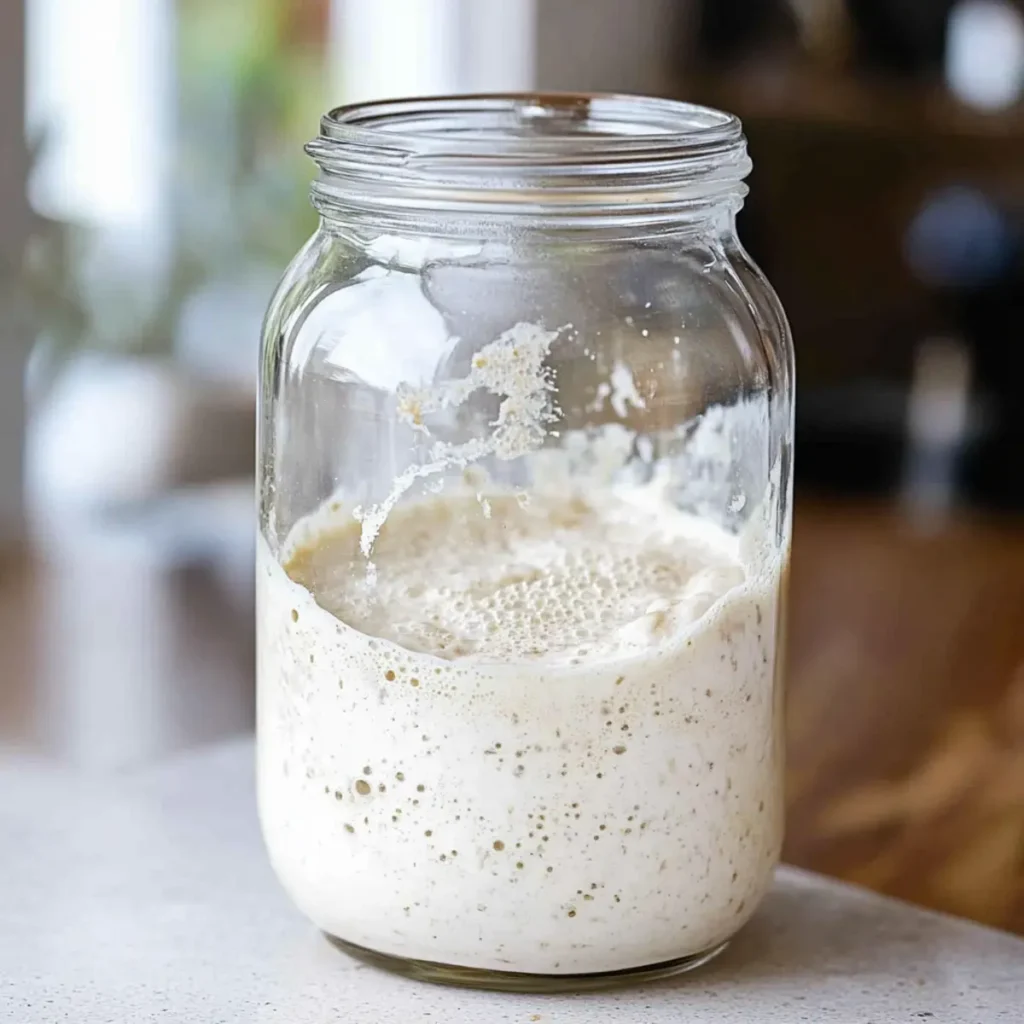
How to Make a Sourdough Starter
-
Combine Ingredients: Mix together ½ cup of flour with ¼ cup of water in your jar. Stir until well combined, aiming for a pancake batter-like consistency. Let it rest for 30 minutes to kickstart the fermentation process.
-
First Feeding: Stir the mixture thoroughly, then cover it loosely with a paper towel secured by a rubber band. Let it sit at room temperature for 24 hours, allowing the natural yeast to come alive.
-
Check for Bubbles: After the first 24 hours, check for tiny bubbles indicating activity. If you see them, great! If not, give it a little stir and wait one more day for nature to work.
-
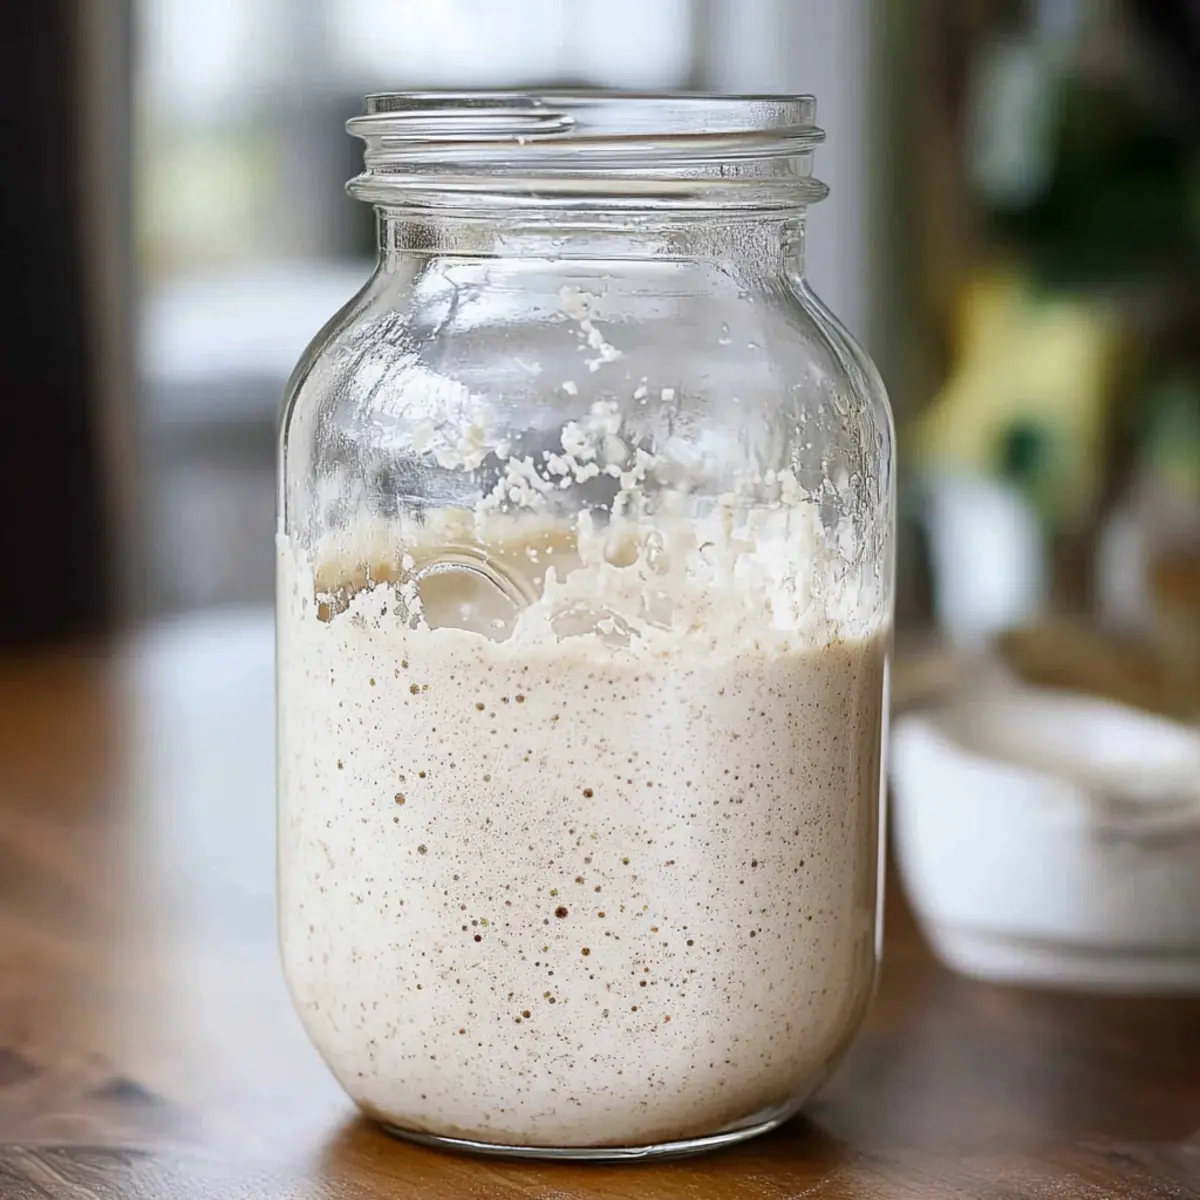
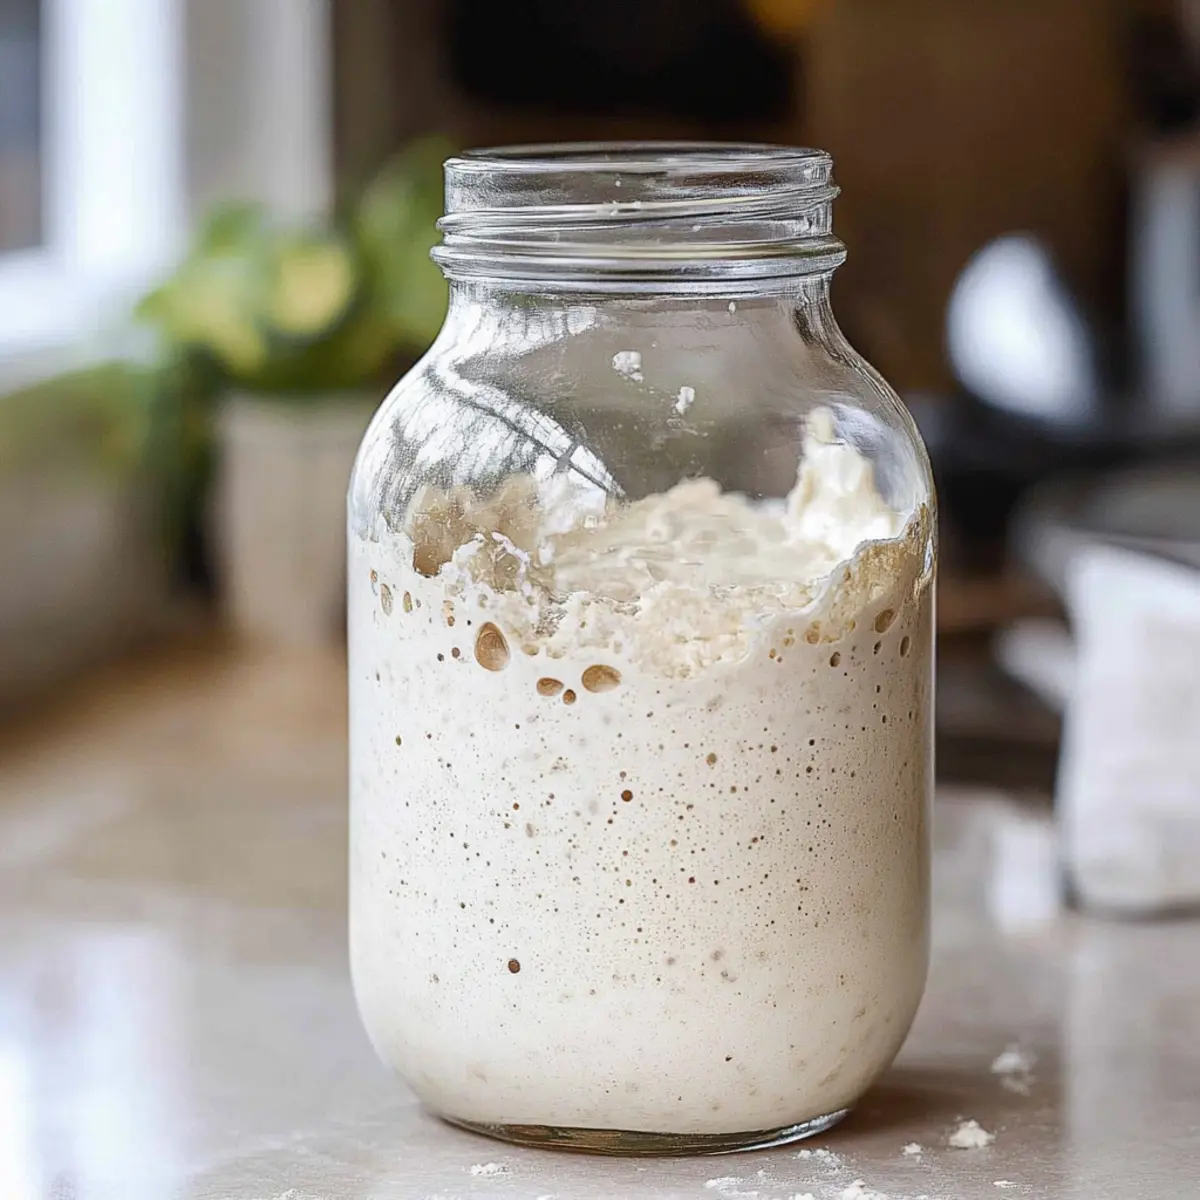
Second Feeding: If bubbles have formed, remove half of your starter and discard it. Add another ½ cup of flour and ¼ to ⅓ cup of water to the remaining mixture. Stir well, then cover and let it sit for another 24 hours.
-
Third Feeding: Repeat the process again—remove half, feed with flour and water, and let your starter rest for 24 hours. This builds strength in your mixture!
-
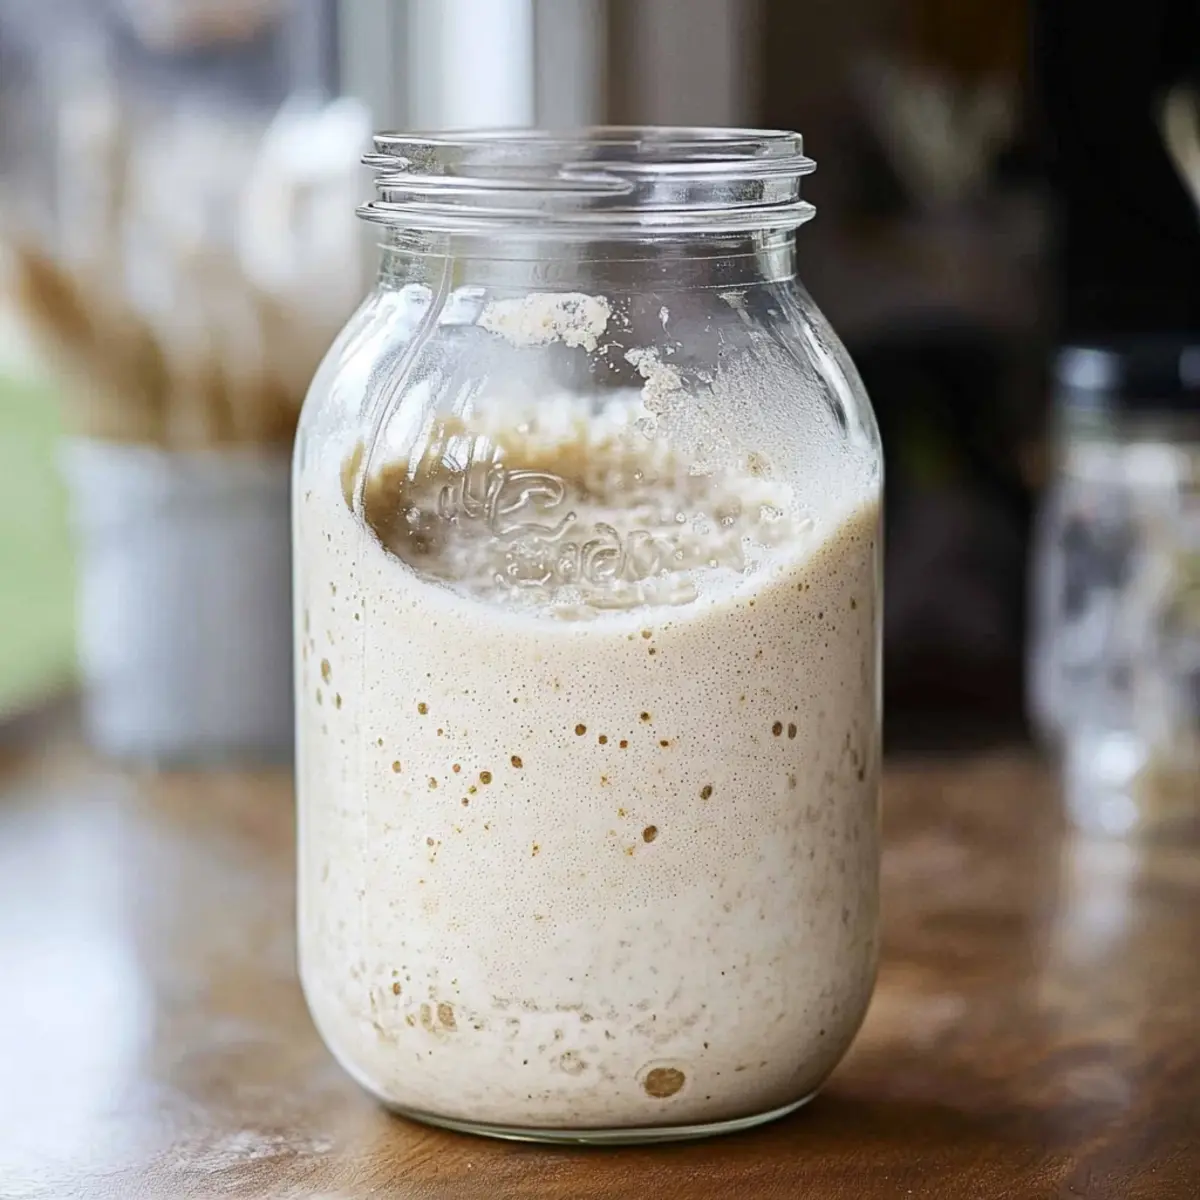
Regular Feedings: Days 4 through 6 are pivotal; you can choose to feed your starter twice a day if you like. Continue the feedings until it doubles in size within 8 hours – that’s how you know it’s healthy!
-
Storage: Once your sourdough starter is thriving (usually after about a week), you can store it in the refrigerator. Remember to feed it weekly, bringing it to room temperature before use and feeding it 24 hours before baking your delicious bread.
Optional: For a fun twist, experiment with different flours for unique flavors!
Exact quantities are listed in the recipe card below.
What to Serve with Sourdough Starter?
Creating your own sourdough starter opens the door to a world of delicious possibilities that can elevate your homemade meals.
-
Freshly Baked Sourdough Bread: There's nothing quite like bread baked from your own starter. The crust is chewy with a tender interior, making it perfect for toasting or sandwiches.
-
Avocado Toast: Spread creamy avocado on a slice of your homemade sourdough. The tanginess of the bread beautifully complements the richness of the avocado.
-
Soup: Pair your sourdough bread with a warm bowl of tomato or vegetable soup. They create a comforting meal, perfect for chilly evenings, inviting you to savor every bite.
-
Pancakes: Use your sourdough starter to whip up light and fluffy pancakes that have a delightful tang. Serve with maple syrup and fresh fruit for a breakfast that feels indulgent yet wholesome.
-
Cheese Platter: Enjoy slices of your sourdough alongside a variety of cheeses. The bread's texture and flavor create an exceptional backdrop for cheeses that range from sharp to creamy.
-
Homemade Crackers: Make crispy crackers from your sourdough starter. They're a delightful snack that pairs well with dips or can be enjoyed on their own.
The joy of sourdough starter lies not only in its creation but also in the diverse delights it brings to your table!
Make Ahead Options
These sourdough starters are perfect for meal prep enthusiasts who want to save time and enjoy homemade bread even on the busiest of days! You can start the initial fermentation process by mixing flour and water up to 24 hours in advance; just ensure to cover it loosely to allow airflow. After the first feeding, if you find bubbles, you can continue to feed the starter as instructed, maintaining quality by discarding half before each feeding. If stored properly, the established starter can be refrigerated for up to 3 days before needing a feeding. When you’re ready to bake, simply bring it to room temperature and feed it 24 hours prior to use for the best results, assuring delicious, tangy loaves with minimal effort!
How to Store and Freeze Sourdough Starter
Room Temperature: Once your sourdough starter is established, it can stay at room temperature for up to 3 days if fed daily. Be sure to keep it in a warm spot!
Fridge: For longer storage, place your sourdough starter in the refrigerator. It can last up to 1 month without feeding, but remember to feed it weekly to keep it healthy!
Freezer: If you want to store it for several months, pour your starter into an airtight container and freeze for up to 6 months. Thaw it in the fridge and feed to revive.
Reheating: Before using your sourdough starter, always bring it to room temperature and feed it 24 hours prior to baking. This will reactivate the fermentation process, ensuring bubbly results!
Expert Tips for Sourdough Starter
-
Use Quality Ingredients: Always opt for fresh flour and filtered water to kickstart your sourdough starter. Old flour may contain inactive yeast, slowing growth.
-
Temperature Matters: Keep your starter in a warm spot, around 70-75°F (21-24°C). Cooler temperatures can hinder fermentation, delaying the bubbly magic!
-
Stir Gently: When mixing your starter, use a wooden spoon instead of metal. Metal can interfere with the fermentation process, affecting your sourdough starter.
-
Avoid Overfeeding: Always discard half before feeding to maintain the right balance of yeast and bacteria. Overfeeding can cause overflow and a less vigorous starter.
-
Patience is Key: If your starter isn't bubbling after the first couple of days, don't rush. Sometimes it just needs a bit more time to develop.
-
It's Alive: Remember, your sourdough starter is a living thing! Treat it with care, and soon you'll enjoy the fruits of your labor in the form of hearty, homemade bread.
Sourdough Starter Variations
Feel free to explore and add your own delightful twists to the sourdough starter, creating a signature flavor that resonates with your taste buds!
-
Whole Wheat: Substitute all-purpose flour for whole wheat for a nuttier flavor and more robust texture. This adds a wholesome element to your bread.
-
Rye Flour: Opt for rye flour instead of wheat; it can speed up fermentation and give your starter a unique taste. The distinctive tang of rye truly enhances the overall flavor.
-
Spelt Flour: Try spelt flour for a lighter, more delicate finish. This ancient grain brings a unique nutritional profile and a slightly sweet flavor that pairs beautifully with traditional sourdough.
-
Add Fruits: Incorporate dried fruits like raisins or figs during the first feeding for a touch of natural sweetness. This can lend a delightful complexity to your baked goods.
-
Herb-Infused: Add fresh herbs like rosemary or thyme during the fermentation process for an aromatic twist. These flavors can transform your bread, creating an inviting baking experience.
-
Honey Touch: Mix in a teaspoon of honey or sugar during feedings for a hint of sweetness. This small addition can encourage bubbling and help balance the sour notes.
-
Temperature Variations: Experiment with room temperature for different fermentation speeds. Cooler temperatures create a slower, more complex flavor, while warmth produces a quick and vigorous starter.
-
Milk Instead of Water: Replace some water with milk for a creamier texture and richer flavor. This approach results in a unique, tangy starter that can elevate bread baking to another level!
Sourdough Starter Recipe FAQs
How do I know if my flour is fresh enough to use for the sourdough starter?
Absolutely! Fresh flour is key to a thriving sourdough starter. Look for flour with a good aroma and no signs of age, like a stale smell or clumping. If you’ve had it for more than a year, consider purchasing a new bag; it’s worth it for the best fermentation.
What’s the best way to store my sourdough starter?
After your sourdough starter is established, the refrigerator is your best friend! It can last up to 1 month without feeding. Just make sure to feed it weekly to maintain its vitality. When you do feed it, bring it to room temperature and give it a nice mix.
Can I freeze my sourdough starter? How do I do it?
Very easily! When you’re ready to store your sourdough starter for a longer period, pour it into an airtight container and freeze it for up to 6 months. When you’re ready to use it again, simply thaw it in the refrigerator overnight, then feed it with flour and water, allowing it to sit at room temperature for about 24 hours before baking. Watch it bubble back to life!
What should I do if my sourdough starter smells bad or shows signs of mold?
If your starter develops an off smell (think anything beyond the lovely tang of fermentation) or shows mold—usually green, black, or fuzzy spots—don’t panic, but do take action! Discard the entire starter and start fresh. This ensures you cultivate a healthy and safe starter that will produce delicious bread.
Are there any dietary restrictions to consider with sourdough starter?
Absolutely! While sourdough starter itself usually contains just flour and water, some individuals may have gluten sensitivities. You can experiment with gluten-free flours for a gluten-free sourdough starter. Additionally, always ensure your ingredients, like flour, are certified gluten-free if needed, to prevent cross-contamination.
How can I troubleshoot if my sourdough starter isn’t bubbling?
If your sourdough starter isn’t showing bubbles after a couple of days, don't worry just yet! Ensure it's in a warm spot (around 70-75°F). You might need to give it a little stir to reintroduce oxygen, which helps fermentation. Patience is crucial—sometimes, it just takes a little longer! If it’s still uneventful after a week, you may need to start fresh, keeping a close eye on temperature and feeding schedules.

The Best Sourdough Starter: Easy Tips for Homemade Magic
Ingredients
Equipment
Method
- Mix together ½ cup of flour with ¼ cup of water in your jar. Stir until well combined, aiming for a pancake batter-like consistency. Let it rest for 30 minutes to kickstart the fermentation process.
- Stir the mixture thoroughly, then cover it loosely with a paper towel secured by a rubber band. Let it sit at room temperature for 24 hours, allowing the natural yeast to come alive.
- Check for tiny bubbles indicating activity. If you see them, great! If not, give it a little stir and wait one more day for nature to work.
- Remove half of your starter and discard it. Add another ½ cup of flour and ¼ to ⅓ cup of water to the remaining mixture. Stir well, then cover and let it sit for another 24 hours.
- Repeat the process again—remove half, feed with flour and water, and let your starter rest for 24 hours.
- Days 4 through 6 are pivotal; you can feed your starter twice a day if you like until it doubles in size within 8 hours.
- Once your sourdough starter is thriving (usually after about a week), you can store it in the refrigerator. Remember to feed it weekly.


Leave a Reply