
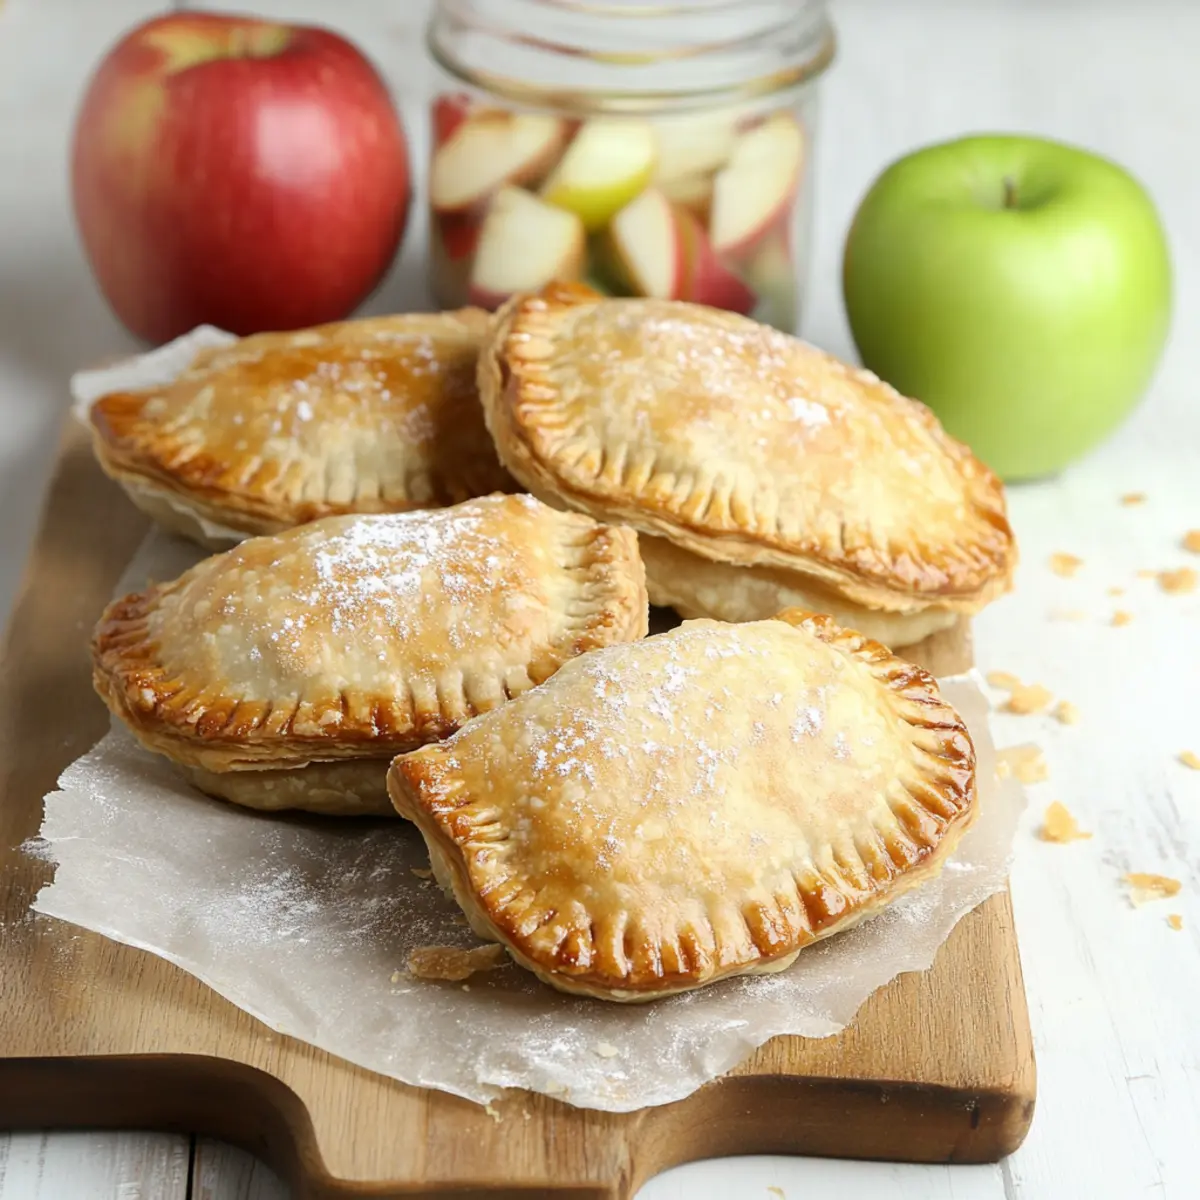
The moment I bit into one of these Apple Hand Pies, the warm, sweet filling and buttery crust transported me to my grandmother's kitchen, where the scent of fresh-baked goodies lingered in the air. These delightful treats are not just a feast for the senses; they’re a picnic-perfect dessert that combines vintage charm with modern convenience. Whether you’re whipping them up for a sunny afternoon gathering or indulging during a cozy night in, these hand-held wonders promise to impress.
What makes them truly special is their versatility—you can customize them with your favorite dough, whether it’s homemade or store-bought, and choose to fry, bake, or even air-fry for a healthier twist. It’s the comfort of Southern-style baking, embodied in a crispy, flaky crust, wrapped around a luscious, spiced apple filling that's just bursting with flavor. Get ready to savor the nostalgia of homemade desserts with this easy, crowd-pleasing recipe!
Why are Apple Hand Pies a must-try?
Deliciously Portable: These hand pies are perfect for picnics, barbecues, or any gathering needing a sweet touch.
Versatile Options: Whether you want to fry, bake, or air-fry, the choice is yours—making them adaptable to your cooking style.
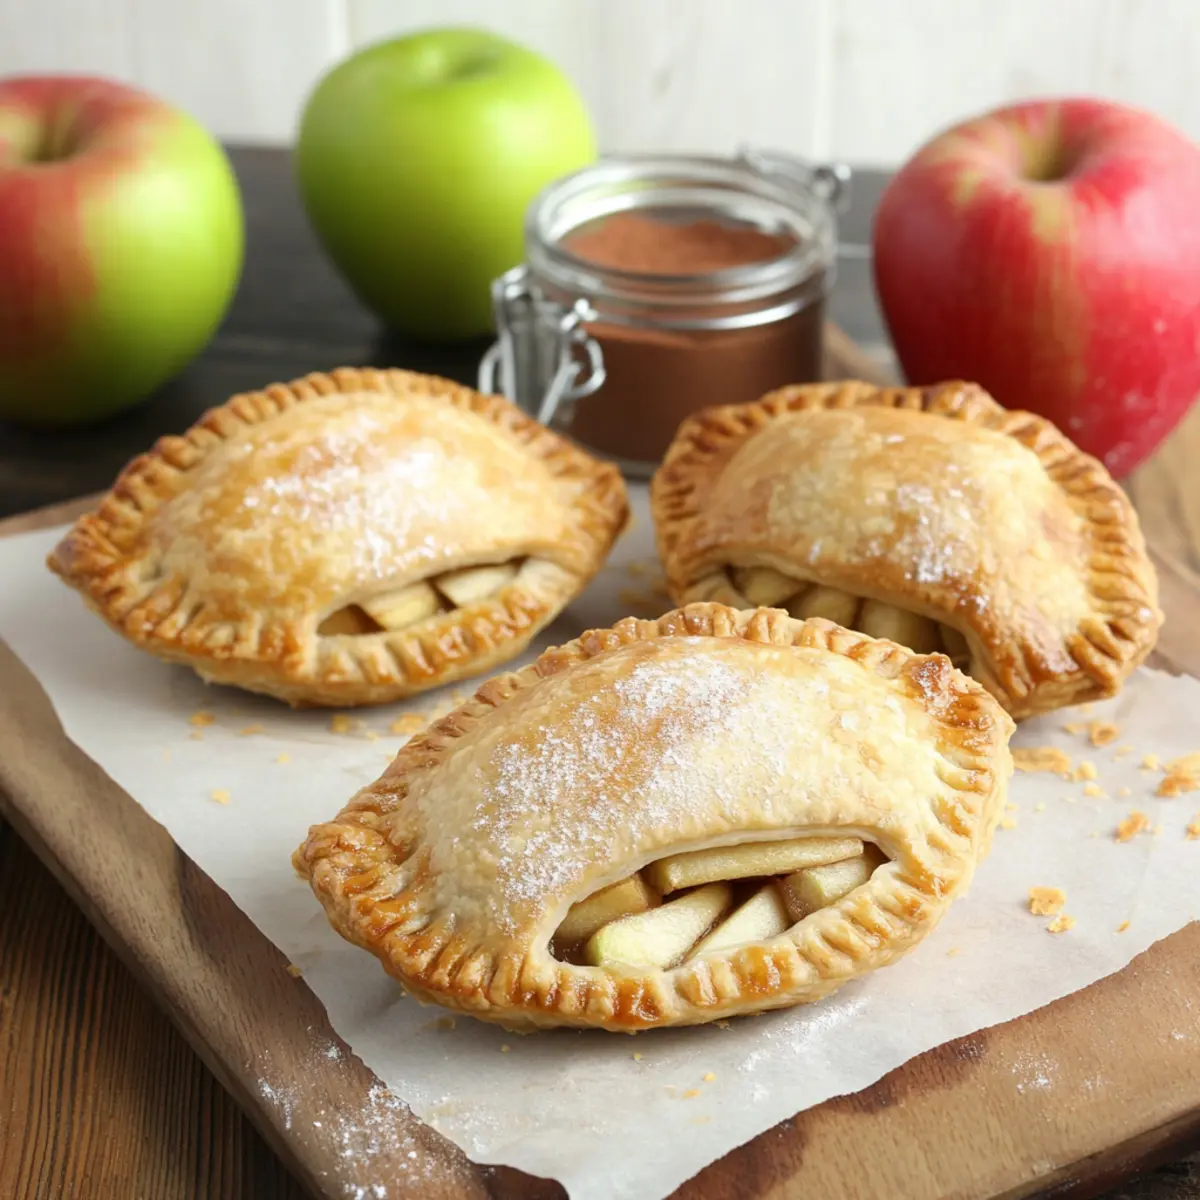
Hearty Filling: A warm, spiced apple filling brings nostalgia, while a flaky crust delivers that irresistible crunch.
Customizable: Use your favorite pie dough or biscuit dough, and switch up the fruits for a delightful twist.
Time-Saving: With easy prep and cooking methods, they’re ready to enjoy in no time.
Don’t forget to explore more delicious variations to suit your taste!
Apple Hand Pie Ingredients
For the Filling
- Apples (5 medium/large, Granny Smith & Macoun) – The main filling ingredient providing sweetness and texture; feel free to substitute with Honey Crisp or Macintosh for a different flavor!
- Unsalted Butter (3 tablespoons) – Adds richness and flavor to the filling; coconut oil makes a great dairy-free alternative.
- Brown Sugar (2 tablespoons) – Enhances sweetness with a hint of molasses; adjust according to the sweetness of your apples.
- Granulated Sugar (¼-½ cup) – This is the primary sweetener; modify based on your apple variety for the perfect touch of sweetness.
- Lemon Juice (2 tablespoons) – Balances the sweetness while preventing apple browning; try using apple cider vinegar for a different zing.
- Cornstarch (1 tablespoon) – Thickens the apple filling perfectly; can be replaced with all-purpose flour if necessary.
- Ground Cinnamon (1 teaspoon) – Adds a warm spice flavor that makes these apple hand pies so comforting; nutmeg is a lovely alternative if you want a twist.
- Ground Nutmeg (¼ teaspoon) – Complements cinnamon beautifully; can be omitted if you're not a fan.
For the Dough
- Homemade Pie Crust or Biscuit Dough – This forms the pastry envelope; using store-bought options can save you time without sacrificing flavor.
Feel free to mix and match ingredients to create your signature hand pies!
How to Make Apple Hand Pies
-
Prepare Filling: Peel, core, and chop your apples into bite-sized pieces. In a skillet, melt the butter over medium heat and add the apples. Cook for 15-20 minutes until they soften and start to caramelize, then mix in brown sugar, granulated sugar, and lemon juice.
-
Thicken Filling: Dissolve the cornstarch in a splash of cold water, then stir this mixture into your simmering apples when they’re nearly done. Allow it to bubble for a minute to thicken nicely. Finish by stirring in cinnamon and nutmeg before letting the filling cool completely.
-
Make Dough: Roll out your chosen dough on a lightly floured surface until it's about ⅛-1/4 inch thick. Cut into 4-6 inch ovals or circles to form the pastry bases for your pies.
-
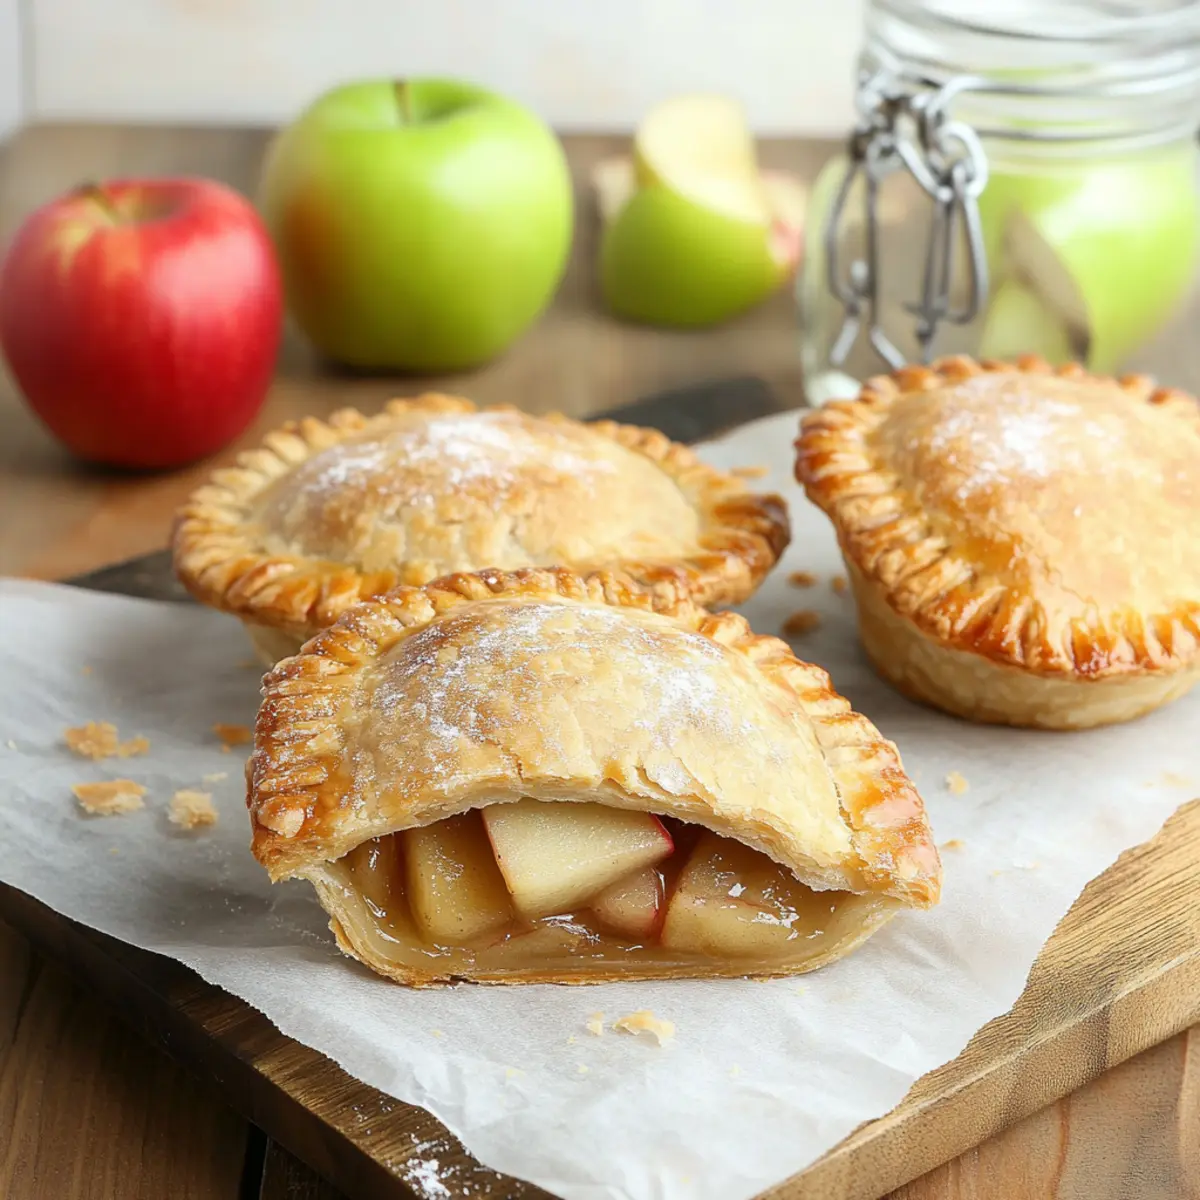
Assemble Pies: Place a heaping tablespoon of the cooled apple filling onto one side of each dough round. Fold the dough over the filling, sealing it well by pressing the edges or crimping with a fork to ensure none of the delicious filling escapes.
-
Freeze (Optional): If you’d like to prepare these for later, lay the assembled pies on a parchment-lined baking sheet and freeze. For fresh pies, move straight to cooking.
-
Cook: Heat oil in a deep skillet to about 370-375°F. Fry the hand pies for 3-4 minutes on each side until they turn golden brown and crispy. Use paper towels to drain any excess oil afterward.
-
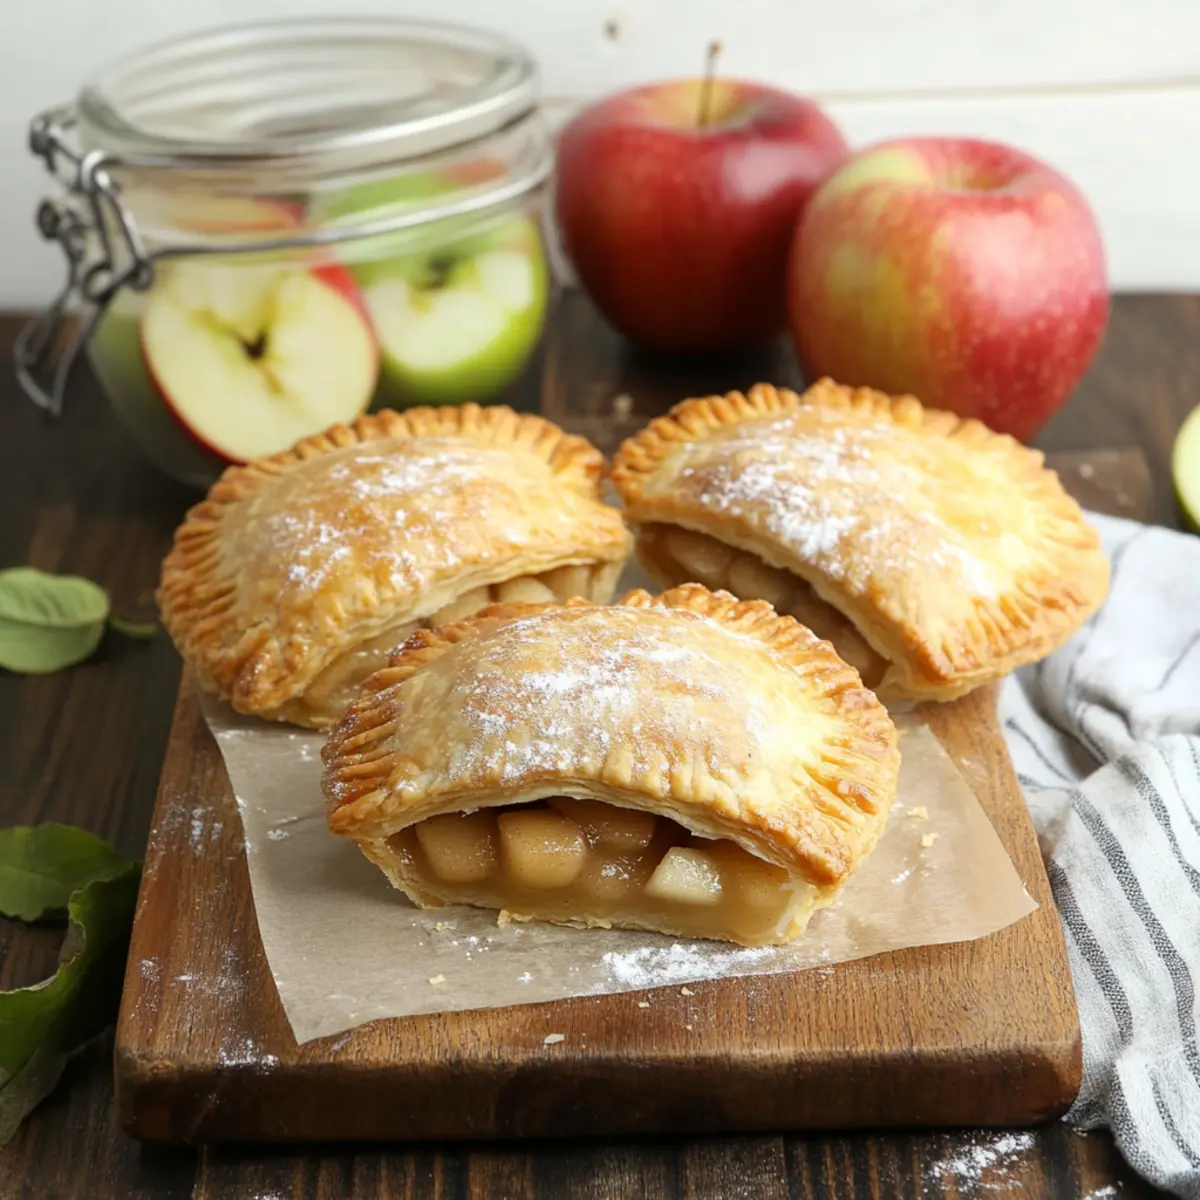
Serve: Dust the warm pies with sugar or drizzle with a glaze for extra sweetness. They are best enjoyed fresh and warm, perhaps paired with a scoop of vanilla ice cream or a drizzle of caramel.
Optional: Serve with a scoop of vanilla ice cream for a heavenly dessert experience.
Exact quantities are listed in the recipe card below.
Make Ahead Options
These Apple Hand Pies are perfect for busy home cooks looking to save time without sacrificing taste! You can prepare the apple filling and assemble the pies up to 24 hours in advance. Simply follow the filling instructions, cool it completely, and refrigerate. When you're ready to enjoy, just take the assembled pies from the fridge, and fry (or bake) them as directed. If you prefer, freeze the assembled pies for up to 3 months—thaw them overnight in the fridge before cooking to ensure crispy results. By prepping ahead, you’ll have warm, delightful hand pies ready in no time, making your next picnic or gathering stress-free and delicious!
How to Store and Freeze Apple Hand Pies
Room Temperature: Keep your Apple Hand Pies in an airtight container at room temperature for up to 2 days to maintain their crispness.
Fridge: If you need to store them longer, place the pies in the refrigerator. They can last for up to 5 days; reheat them in the oven to restore their flaky texture.
Freezer: Assemble uncooked pies and freeze them on a baking sheet for up to 2 months. Once frozen, transfer to a resealable bag, and thaw before frying or baking.
Reheating: To enjoy leftover pies, reheat in a 350°F oven for about 10-15 minutes to regain that delightful crispiness.
What to Serve with Apple Hand Pies?
Creating the perfect meal is all about balance, and these delightful hand pies can easily shine alongside a few tasty companions.
-
Vanilla Ice Cream: The creamy, sweet richness of vanilla ice cream combines beautifully with the warm, spiced apple filling, enhancing the dessert experience.
-
Caramel Sauce: A drizzle of warm caramel adds an indulgent touch, elevating the enjoyment with its rich, buttery flavor that complements the fruitiness perfectly.
-
Cold Milk: A traditional pairing that never goes out of style; the refreshing coolness of milk beautifully contrasts with the warm, flaky pies.
-
Fresh Fruit Salad: Light and refreshing, a colorful assortment of fruits adds brightness and a healthy crunch, balancing the sweetness of the hand pies.
-
Whipped Cream: Light and fluffy, freshly whipped cream introduces a delightful airiness that pairs perfectly with the warm, spiced goodness of the pies.
-
Herbal Tea: A soothing cup of herbal tea, like chamomile or mint, provides a fragrant and calming element that complements the sweet and spiced flavors.
Mix and match these delectable accompaniments to create your perfect dessert experience with these amazing Apple Hand Pies!
Expert Tips for Apple Hand Pies
-
Filling Balance: Use a heaping tablespoon of filling, ensuring your pies aren't overstuffed for a perfect seal.
-
Baking Instructions: For baking, preheat your oven to 400°F, brush the pies with an egg wash, sprinkle with sugar, and bake them for 25-30 minutes.
-
Freezing Guide: Assemble uncooked pies and freeze them; they can be stored for several months. Just be sure to thaw before frying!
-
Oil Temperature Check: If you don't have a thermometer, a pinch of flour in the oil should bubble immediately—this indicates it's ready for frying.
-
Dough Choices: Feel free to experiment with different doughs, like puff pastry, for unique textures in your Apple Hand Pies.
Apple Hand Pies Variations & Substitutions
Feel free to twist this recipe to make it your own, using fresh ingredients and flavors that excite your taste buds!
-
Fruit Variations: Swap out apples for cherries, blueberries, or peaches for exciting new fillings that burst with flavor.
-
Dough Alternatives: Use puff pastry or empanada dough for a lighter, flaky texture that adds a fun twist to your hand pies.
-
Cinnamon-Free: Skip the cinnamon and replace it with vanilla extract for a more subdued, yet delicious, flavor profile.
-
Gluten-Free: Opt for gluten-free pie crusts or biscuit dough for a delightful treat the whole family can enjoy.
-
Nutty Texture: Incorporate finely chopped nuts, like pecans or walnuts, into the filling for added crunch and a richer flavor.
-
Savory Twist: Add a touch of cheddar cheese to the apple filling for a sweet-savory flavor explosion that is utterly irresistible.
-
Healthier Options: Consider baking your hand pies instead of frying for a lighter treat, or use whole wheat crust for extra nutrition.
-
Spicy Kick: Add a pinch of cayenne pepper to the filling for a surprising kick that elevates the sweet flavor of the apples.
Discover endless possibilities with these variations, and make these Apple Hand Pies a unique reflection of your taste!
Apple Hand Pies Recipe FAQs
How do I choose apples for the filling?
Absolutely! Opt for firm, tart apples like Granny Smith or sweet varieties such as Honey Crisp for a balance of flavors. Make sure to avoid overly soft or bruised apples, as they'll break down too much during cooking and won’t provide the desired texture.
How should I store leftover Apple Hand Pies?
For optimal freshness, store your leftover Apple Hand Pies in an airtight container at room temperature for up to 2 days. If you find yourself with more than you can eat, refrigerate them for up to 5 days, but reheat them in the oven to restore their crispy goodness.
Can I freeze Apple Hand Pies?
Yes! To freeze uncooked Apple Hand Pies, place them on a parchment-lined baking sheet and freeze until solid. Once frozen, transfer them into a resealable bag and store for up to 2 months. When ready to enjoy, just thaw them overnight in the fridge or for a few hours at room temperature before frying or baking.
What should I do if my dough tears while shaping?
Very common! If your dough tears, don’t worry—simply patch it up by pinching the edges back together or using scraps to cover the hole. Just make sure the filling isn’t too full to avoid leakage. A little extra dough can make all the difference in keeping all that yummy apple filling inside!
Are Apple Hand Pies safe for pets?
While the filling itself isn’t toxic, the sugars and spices can upset a pet's stomach, and the crust might be challenging for them to digest. It’s best to avoid sharing these sweet treats with furry friends altogether to be on the safe side.
What do I do if my filling is too runny?
If your filling turns out too runny, don’t fret! You can thicken it by cooking it a little longer in the skillet, allowing excess moisture to evaporate. Alternatively, mix a teaspoon of cornstarch with a tablespoon of water and stir this into the filling; let it simmer until thickened. This will give you that perfect, gooey center without making a mess!
Irresistibly Delicious Apple Hand Pies: Your New Favorite Treat
Ingredients
Equipment
Method
- Peel, core, and chop your apples into bite-sized pieces. In a skillet, melt the butter over medium heat and add the apples. Cook for 15-20 minutes until they soften and start to caramelize, then mix in brown sugar, granulated sugar, and lemon juice.
- Dissolve the cornstarch in a splash of cold water, then stir this mixture into your simmering apples when they’re nearly done. Allow it to bubble for a minute to thicken nicely. Finish by stirring in cinnamon and nutmeg before letting the filling cool completely.
- Roll out your chosen dough on a lightly floured surface until it's about ⅛-1/4 inch thick. Cut into 4-6 inch ovals or circles to form the pastry bases for your pies.
- Place a heaping tablespoon of the cooled apple filling onto one side of each dough round. Fold the dough over the filling, sealing it well by pressing the edges or crimping with a fork to ensure none of the delicious filling escapes.
- If you’d like to prepare these for later, lay the assembled pies on a parchment-lined baking sheet and freeze. For fresh pies, move straight to cooking.
- Heat oil in a deep skillet to about 370-375°F. Fry the hand pies for 3-4 minutes on each side until they turn golden brown and crispy. Use paper towels to drain any excess oil afterward.
- Dust the warm pies with sugar or drizzle with a glaze for extra sweetness. They are best enjoyed fresh and warm, perhaps paired with a scoop of vanilla ice cream or a drizzle of caramel.


Leave a Reply