
First off, thank you. 💛 Whether you’re here for a quick dessert idea, a nostalgic candy remix, or just scrolling for something sweet to make your day a little brighter — I’m so glad you stopped by!
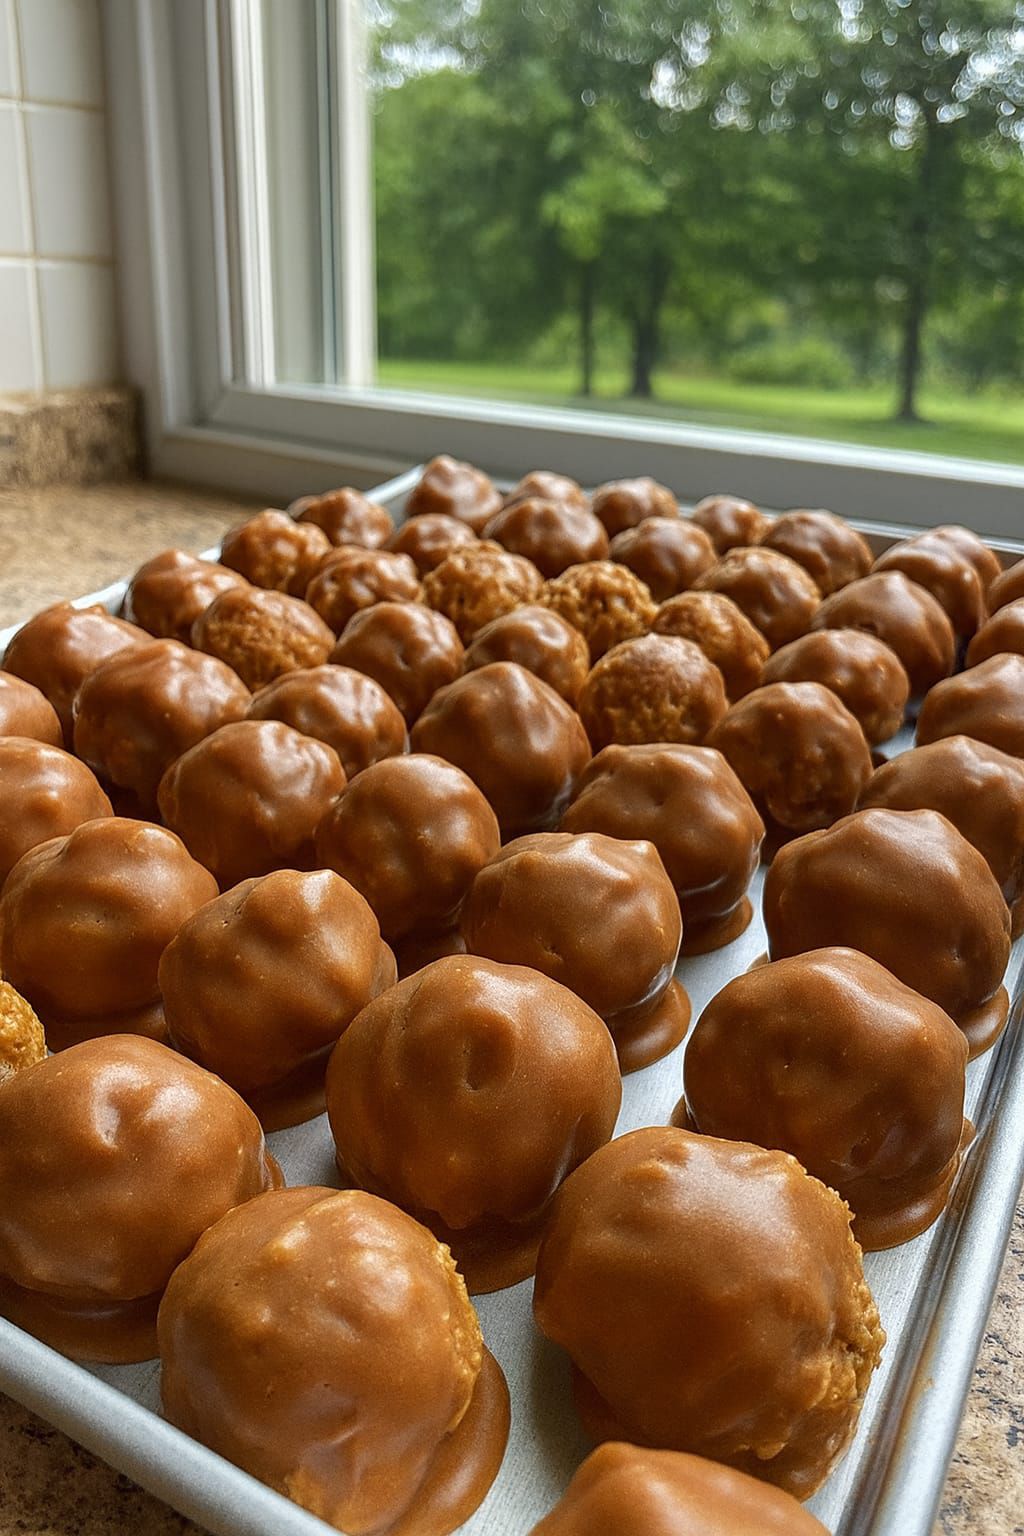
I’ve got a treat for you today that hits all the right notes: Sweet and Crunchy Butterfinger Balls. These no-bake gems are creamy, crunchy, peanut buttery, chocolatey, and outrageously addictive. They're perfect for literally every occasion: holiday trays, party favors, potlucks, or just late-night fridge raids (no judgment here!).
💌 Want More Easy Sweets Like This?
If you're loving this one, don’t miss out on more no-bake desserts and kitchen hacks.
📬 [Subscribe now] to get new recipes straight to your inbox every week!
🍬 What Are Butterfinger Balls?
These are dreamy little dessert bites made from crushed Butterfinger candy bars, creamy peanut butter, powdered sugar, graham cracker crumbs, and melted milk chocolate chips. They're like truffles — but way easier and with that irresistible Butterfinger crunch!
No oven. No fuss. Just roll, dip, chill, and devour. ✨
❤️ Why You’ll Love This Recipe
- No baking required – great for kids or hot weather days!
- Perfect texture – crunchy outside, creamy inside
- Totally customizable – use dark chocolate, sprinkles, or white chocolate drizzle!
- Peanut butter + chocolate – do I even need to explain?!
- Great for gifting or parties – they look impressive but are secretly so simple
🤤 What Do They Taste Like?
Sweet. Salty. Creamy. Crunchy.
The graham cracker and powdered sugar give the filling a light, slightly gritty sweetness (in a good way!). The Butterfinger pieces add that iconic crispy peanut butter candy crunch. And when you dip the whole thing in smooth milk chocolate? It’s like a Reese’s and a Butterfinger had a truffle baby. 😍
🧂 Ingredients List
Here’s what you’ll need to make these buttery bites of joy:
- 1 package Butterfinger candy bars (regular size or fun size — about 6 full-size bars)
- 1 cup creamy peanut butter (not the natural kind — you want the sticky stuff!)
- 1 ½ cups powdered sugar – for sweetness and structure
- 1 ½ cups graham cracker crumbs – adds texture and balances sweetness
- 1 cup milk chocolate chips – for melting and coating
🛠️ Tools You’ll Need
- Mixing bowl
- Rubber spatula
- Food processor or rolling pin (to crush candy)
- Cookie scoop or spoon
- Baking sheet
- Parchment paper
- Microwave-safe bowl (or double boiler)
🧁 Ingredient Substitutions & Add-Ins
Feel free to play around!
- Use dark or white chocolate for coating
- Swap in almond butter if you prefer (just make sure it’s thick!)
- Add crushed pretzels or mini chocolate chips to the filling for extra texture
- Drizzle with melted white chocolate or caramel for a fancy finish
- Add a pinch of salt if your peanut butter is unsalted — it boosts flavor!
👩🍳 Step-by-Step Instructions
Step 1: Crush the Butterfingers
Place unwrapped Butterfinger bars in a food processor and pulse until crushed — or place them in a zip-top bag and roll over with a rolling pin. You want small crunchy pieces, not dust.
Step 2: Make the Filling
In a large bowl, mix peanut butter, powdered sugar, graham cracker crumbs, and the crushed Butterfinger bits. Stir until a thick, uniform dough forms.
Pro Tip: If the mixture feels too sticky, add a little more graham cracker crumbs. Too dry? Add a touch more peanut butter.
Step 3: Shape the Balls
Scoop out small portions (about 1 inch) and roll into balls. Place on a parchment-lined baking sheet.
Step 4: Chill
Pop the tray into the freezer for about 15–20 minutes, or until firm. This helps them hold their shape when dipping in chocolate.
Step 5: Melt the Chocolate
In a microwave-safe bowl, melt the milk chocolate chips in 30-second intervals, stirring in between until smooth.
Step 6: Dip and Set
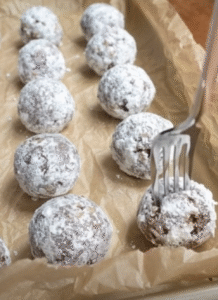
Use a fork or dipping tool to coat each chilled ball in melted chocolate. Let excess drip off, then return to the parchment paper. Optional: sprinkle with extra crushed Butterfinger, sea salt, or drizzle with white chocolate.
Step 7: Chill Again
Refrigerate for at least 30 minutes, or until chocolate is set.
Step 8: Serve and Enjoy!
Bring them to room temp for about 5 minutes before serving (if you can wait!). Store extras in an airtight container in the fridge.
🍽️ When to Serve Butterfinger Balls
Honestly? Anytime.
But they’re especially perfect for:
- 🎁 Holiday gift boxes
- 🎉 Birthday parties
- 🍂 Fall baking swaps
- 👶 Baby showers
- 🍽️ After-dinner sweet cravings
🧊 Storage Instructions
Refrigerator:
Store in an airtight container for up to 7 days.
Freezer:
Freeze for up to 3 months! Just thaw in the fridge before serving.
They actually taste amazing cold too — like a frozen Butterfinger truffle.
❓ Frequently Asked Questions (FAQ)
Can I use natural peanut butter?
I wouldn’t recommend it. It’s too runny and may cause the filling to fall apart. Stick with classic creamy peanut butter like Jif or Skippy.
Can I make these ahead of time?
Yes! They keep beautifully in the fridge or freezer, so they’re a great make-ahead dessert.
What can I use instead of Butterfingers?
Try crushed Reese’s, Toffee bits, or even Heath bars if you can’t find Butterfinger — but that crunchy peanut butter candy is really what makes these magical.
How many does this make?
This recipe makes about 30–36 balls, depending on the size you roll them.
✨ Final Thoughts
These Sweet and Crunchy Butterfinger Balls are that perfect bite-sized indulgence that checks every dessert box. They’re nostalgic, craveable, and dangerously easy to eat just one (or three). Whether you’re whipping them up for a party or hoarding them in the back of your fridge like I may have done... you’re going to fall in love with how simple and satisfying they are.
I hope you make them, love them, and share them. 💛
🍪 More No-Bake Desserts to Try
- No-Bake Oreo Cheesecake Bites
- Peanut Butter Pretzel Bark
- Chocolate Peanut Butter Oatmeal Bars
- No-Bake Chocolate Eclair Cake
📸 Let’s Make This Interactive!
If you try this recipe, I’d LOVE to see your creations!
📌 Pin this post, share your pictures on Pinterest or Instagram, and tag me at #ButterfingerBallsMagic!
And if you loved them — leave a review below! It helps other dessert lovers find the recipe too. 🧡
🧮 Nutritional Info (Approx. per ball)
| Nutrient | Amount |
|---|---|
| Calories | 145 kcal |
| Carbohydrates | 15g |
| Protein | 3g |
| Fat | 9g |
| Sugar | 12g |
| Fiber | 1g |
Butterfinger Balls
Ingredients
Method
- Crush the Butterfingers by placing them in a food processor or in a zip-top bag and rolling with a rolling pin until small crunchy pieces are formed.
- In a large bowl, mix together peanut butter, powdered sugar, graham cracker crumbs, and the crushed Butterfinger bits. Stir until a thick, uniform dough forms.
- Scoop out small portions (about 1 inch) and roll into balls. Place on a parchment-lined baking sheet.
- Pop the tray into the freezer for about 15–20 minutes, or until firm.
- In a microwave-safe bowl, melt the milk chocolate chips in 30-second intervals, stirring in between until smooth.
- Use a fork to coat each chilled ball in melted chocolate. Let excess chocolate drip off, then return to the parchment paper. Optionally, sprinkle with extra crushed Butterfinger or drizzle with white chocolate.
- Refrigerate for at least 30 minutes, or until chocolate is set.
- Bring them to room temperature for about 5 minutes before serving.
Leave a Reply