
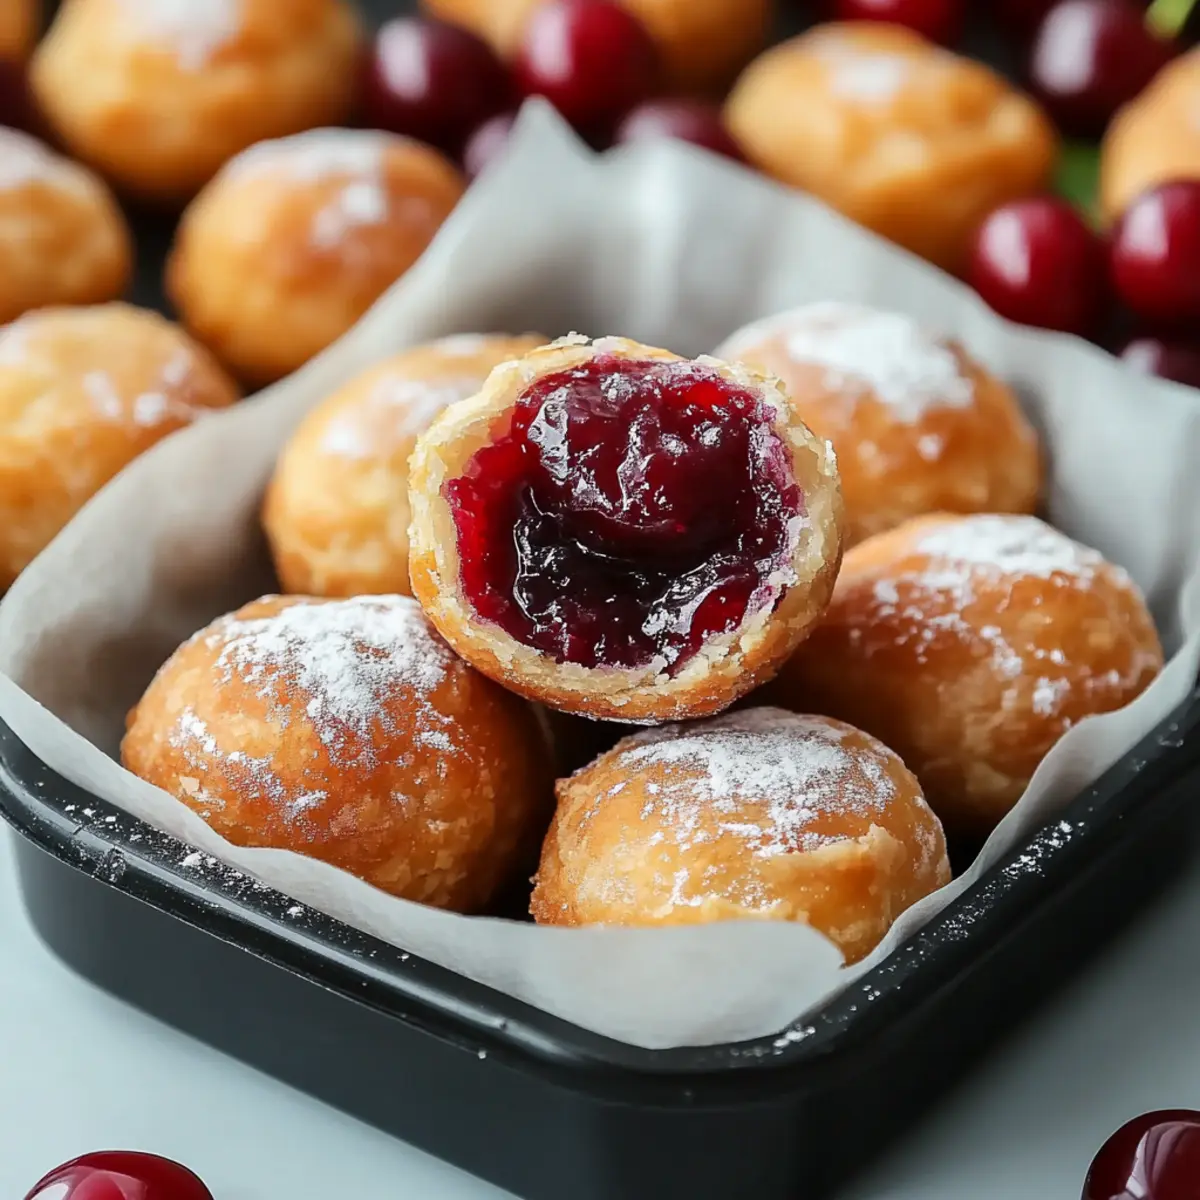
When the craving for something sweet and satisfying strikes, nothing hits the spot quite like delicious Cherry Pie Bites. Picture this: the warm, flaky embrace of crescent roll dough cradling a luscious cherry filling that oozes with every delightful bite. These bite-sized treats are a playful twist on the classic cherry pie, offering all the nostalgic flavors we adore without the hassle of traditional baking.
I stumbled upon this recipe during a particularly busy week when I was desperate for stress-free dessert options. With just a handful of ingredients, I found that I could completely transform canned cherries—or even fresh ones—into a crowd-pleasing snack that’s perfect for gatherings or cozy nights in. Whether they're enjoyed warm, drizzled with a sweet glaze, or paired with a scoop of ice cream, these Cherry Pie Bites bring a taste of home to any occasion. So, let’s roll up our sleeves and make this delightful dessert a staple in your kitchen!
Why are Delicious Cherry Pie Bites a Must-Try?
Irresistible flavors: These Delicious Cherry Pie Bites encapsulate the classic cherry pie experience in a fun, bite-sized form that’s sure to satisfy your sweet tooth.
Quick and easy: With just a few ingredients, you can whip up these treats quickly, making them the perfect go-to option for any unexpected guests.
Versatile filling options: You can easily customize these bites with fresh or canned cherries, or switch it up with other fruits like blueberries or apples for a delicious twist.
Perfect for sharing: Their small size makes them ideal for parties and gatherings, inviting everyone to enjoy without the mess of a full pie.
Ready to elevate your dessert game? Check out my tips on how to prepare a homemade fruit filling if you want to take it a step further!
Delicious Cherry Pie Bites Ingredients
For the Dough
• Crescent roll dough – Provides a quick and easy crust; use refrigerated dough for best results.
For the Filling
• Cherry pie filling – The star of the recipe; opt for tart red cherries for a lovely balance or dark sweet cherries for a sweeter treat.
For the Glaze
• Powdered sugar – Adds sweetness and a smooth finish to your Delicious Cherry Pie Bites.
• Milk – Adjusts the glaze's consistency; start small and add more to reach your desired thickness.
How to Make Delicious Cherry Pie Bites
-
Preheat the oven: Set your oven to 375°F (190°C) so it’s ready to bake those delightful Cherry Pie Bites.
-
Grease the muffin tin: Lightly spray a standard muffin tin with nonstick spray to ensure your bites release easily after baking.
-
Prepare the dough: Unroll the crescent roll dough and place each triangle in a muffin cup, making sure the wide end is at the bottom. This will form a lovely cup for your filling!
-
Fill the dough cups: Spoon 3-4 tablespoons of cherry pie filling into each dough cup. Don’t overload them to prevent any messy leaks while baking.
-
Fold the edges: Gently fold the corners of the dough over the cherry filling. This will create a sweet little pocket that keeps the filling secure.
-
Bake to perfection: Place the tin in the preheated oven and bake for 13-14 minutes, until golden brown. You want that flaky crust to just shine!
-
Whisk the glaze: In a small bowl, combine powdered sugar and milk, whisking until smooth. Adjust the milk until you reach your desired consistency.
-
Glaze the bites: Once the bites have cooled slightly (about 10 minutes), drizzle the glaze over them before serving to add an irresistible sweetness.
Optional: Dust with extra powdered sugar for an elegant finish.
Exact quantities are listed in the recipe card below.
Make Ahead Options
These Delicious Cherry Pie Bites are fantastic for busy weeknights or last-minute gatherings! You can assemble the bites up to 24 hours in advance; simply prepare them, place them in an airtight container, and refrigerate until you're ready to bake. This makes it easier to whip them up on the day of serving without any hassle. Maintain quality by ensuring the dough is sealed tightly around the filling to prevent drying out. When you're ready to enjoy, preheat your oven to 375°F (190°C) and bake for 13-14 minutes until golden brown. A delightful treat with minimal effort!
Delicious Cherry Pie Bites Variations & Substitutions
Feel free to explore these delightful twists on the classic recipe and make it your own!
-
Fresh Cherries: Use fresh pitted cherries for a vibrant and tart filling. They bring a burst of luscious flavor!
-
Apple Cinnamon: Swap out the cherry filling for diced apples and add a sprinkle of cinnamon for a cozy, fall-inspired treat.
-
Berry Medley: Try using a mix of blueberries and raspberries instead of cherries. This fruity combination adds a lovely tartness!
-
Nutty Crunch: Incorporate chopped nuts like pecans or walnuts into the cherry filling for an extra crunch and flavor contrast.
-
Vegan: Substitute the crescent roll dough with a plant-based version and replace the milk in the glaze with almond or oat milk for a dairy-free delight.
-
Glaze Alternatives: Experiment with different glazes—try using warm caramel or a tart lemon glaze to accompany the sweet cherries.
-
Spicy Kick: Add a pinch of cayenne or red pepper flakes to the cherry filling for a surprising heat that complements the sweetness beautifully.
-
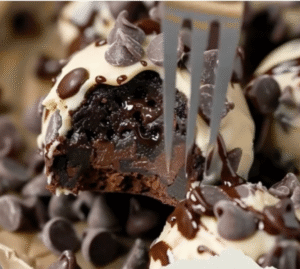
Chocolate Drizzle: After glazing, add a drizzle of melted chocolate over the top for a decadent twist that chocolate lovers will adore!
Expert Tips for Delicious Cherry Pie Bites
-
Proper Filling Amount: Avoid overfilling with cherry pie filling; 1-2 tablespoons is ideal to prevent any messy overflow during baking.
-
Sealing the Edges: Ensure the dough edges are tightly sealed after folding to keep the filling secure while baking, making your Delicious Cherry Pie Bites an absolute delight.
-
Cool Before Glazing: Let your bites cool for at least 10 minutes before drizzling the glaze on top. This helps maintain the glaze's shape and prevents it from melting away.
-
Experiment with Flavors: Don’t hesitate to get creative! Add a pinch of cinnamon to the filling or mix in other fruits to customize your Cherry Pie Bites to your liking.
-
Use Fresh Ingredients: If possible, use fresh cherries in your filling for a burst of flavor. They can elevate your delicious bites to a whole new level!
How to Store and Freeze Delicious Cherry Pie Bites
-
Room Temperature: Keep your Cherry Pie Bites in an airtight container for up to 2 days at room temperature to maintain their delightful texture and flavor.
-
Fridge: If you want to extend freshness, store them in the refrigerator for up to 4 days. Just be sure to cover them tightly to prevent drying out.
-
Freezer: For longer storage, freeze the bites in a single layer on a baking sheet before transferring to a freezer-safe bag. They can last for up to 3 months.
-
Reheating: To enjoy your Cherry Pie Bites warm, reheat them in the oven at 350°F (175°C) for about 10-12 minutes, or until heated through.
What to Serve with Delicious Cherry Pie Bites?
Indulging in these sweet treats opens the door to a world of delightful pairings that enhance every bite.
-
Vanilla Ice Cream: A scoop of creamy vanilla ice cream balances the tart cherry filling, adding a luscious creaminess that’s hard to resist.
-
Fresh Whipped Cream: Light and fluffy, whipped cream adds a touch of elegance, making each Cherry Pie Bite even more velvety and delicious.
-
Coffee: A warm cup of coffee provides a rich counterpoint to the sweetness of the bites, perfect for an afternoon pick-me-up or post-dinner treat.
-
Hot Chocolate: For a cozy dessert pairing, hot chocolate brings warmth and a touch of nostalgia, complementing the cherry flavors wonderfully.
-
Berry Salad: A refreshing berry salad with strawberries, blueberries, and mint offers a bright, fresh contrast, cleansing the palate between bites.
-
Chocolate Drizzle: Adding a drizzle of chocolate sauce over your Cherry Pie Bites not only looks fantastic but enhances their richness with a touch of decadence.
-
Lemonade: The zesty and slightly tart flavor of lemonade contrasts beautifully with the sweetness of the bites, making for a really refreshing combination.
-
Cheese Platter: A selection of mild cheeses, like brie or mascarpone, creates a sweet and savory experience, inviting a fun mix of textures and tastes.
-
Almond Milkshake: For something extra delightful, an almond milkshake adds creaminess and a hint of nuttiness that pairs wonderfully with the cherry filling.
-
Cinnamon Sugar Dusting: A light dusting of cinnamon sugar atop your bites will amplify the dessert experience while adding an aromatic twist that invites seconds.
Delicious Cherry Pie Bites Recipe FAQs
What is the best way to select cherries for the filling?
Absolutely! When choosing cherries for your filling, look for firm, plump cherries without any dark spots all over. If you're using canned cherries, opt for a brand that uses whole, tart red cherries for a perfect balance of flavor.
How should I store leftover Cherry Pie Bites?
Very! To keep your Cherry Pie Bites fresh, store them in an airtight container at room temperature for up to 2 days. If you want them to last a bit longer, refrigerate them for up to 4 days. Just make sure to cover them tightly to prevent drying out.
Can I freeze Cherry Pie Bites?
Absolutely! To freeze your Cherry Pie Bites, first arrange them in a single layer on a baking sheet and place them in the freezer for about 1 hour until firm. Then, transfer them to a freezer-safe bag or container, where they can be kept for up to 3 months. When you’re ready to enjoy, simply thaw in the refrigerator overnight and reheat.
What should I do if the dough overflows during baking?
Very! If you notice some leakage while baking, it may be because of overfilling the dough. For future batches, keep the filling to 1-2 tablespoons per bite to prevent any mess. Make sure to tightly seal the edges before baking too!
Are there any dietary considerations for the ingredients?
Absolutely! If you're concerned about allergies, check the ingredients on your crescent roll dough, as some brands may contain dairy or gluten. For a nut-free option, ensure your filling and glaze ingredients are also nut-free. If serving to pets, be cautious as cherries can be harmful to them.

Irresistibly Delicious Cherry Pie Bites You’ll Crave Again!
Ingredients
Equipment
Method
- Preheat the oven: Set your oven to 375°F (190°C).
- Grease the muffin tin: Lightly spray a standard muffin tin with nonstick spray.
- Prepare the dough: Unroll the crescent roll dough and place each triangle in a muffin cup, wide end at the bottom.
- Fill the dough cups: Spoon 3-4 tablespoons of cherry pie filling into each cup, avoiding overload.
- Fold the edges: Gently fold the corners of the dough over the filling to create pockets.
- Bake to perfection: Bake for 13-14 minutes until golden brown.
- Whisk the glaze: In a bowl, combine powdered sugar and milk, whisk until smooth.
- Glaze the bites: Drizzle the glaze over cooled bites (about 10 minutes after baking).
Leave a Reply