
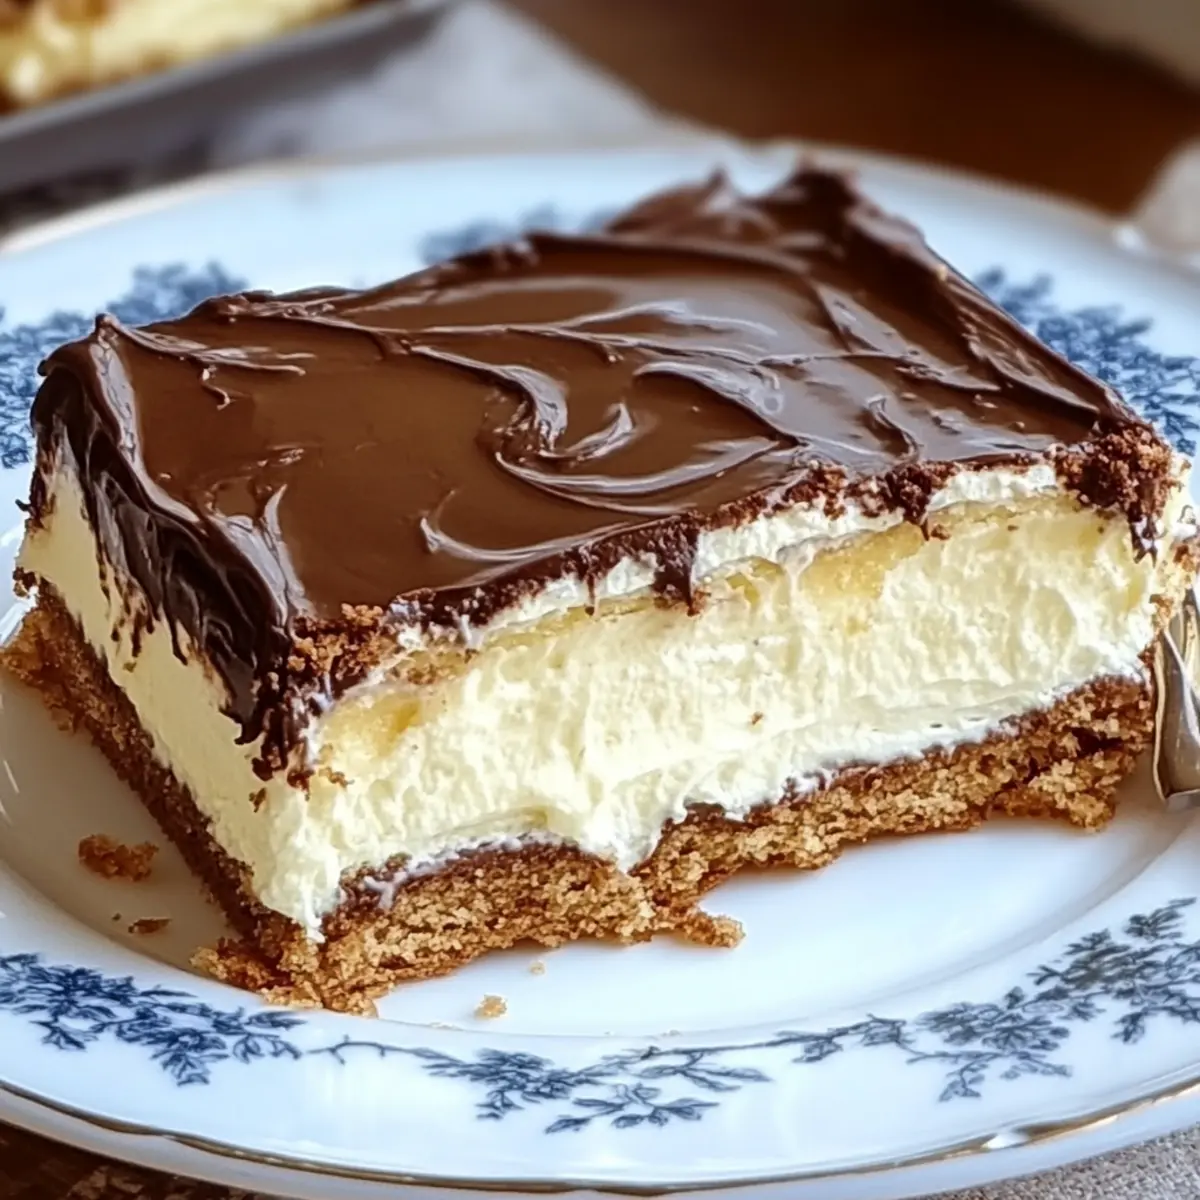
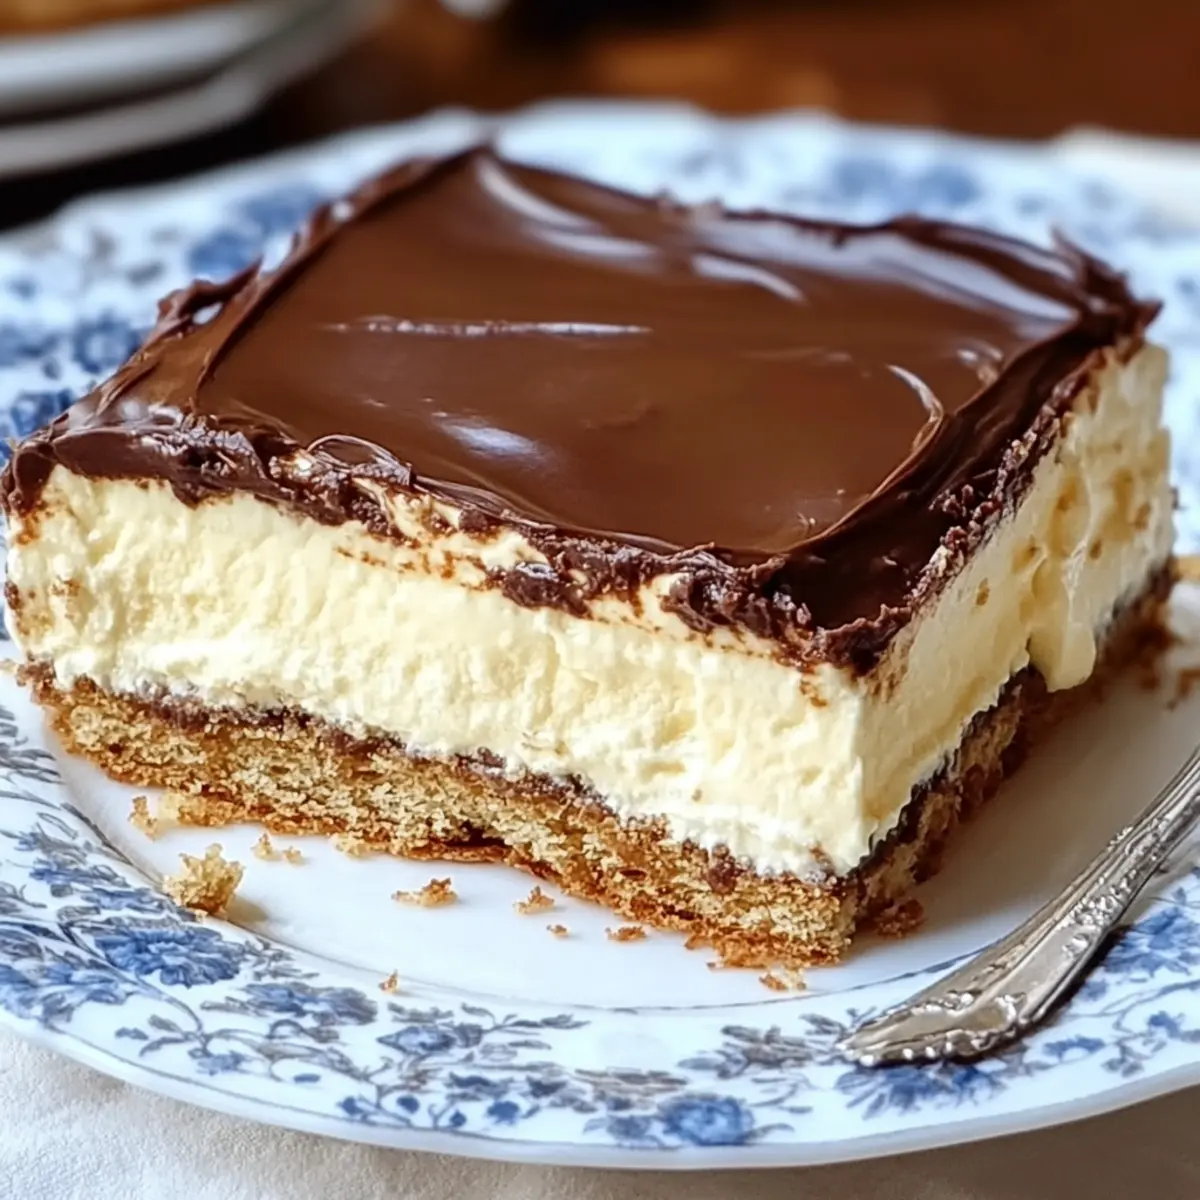
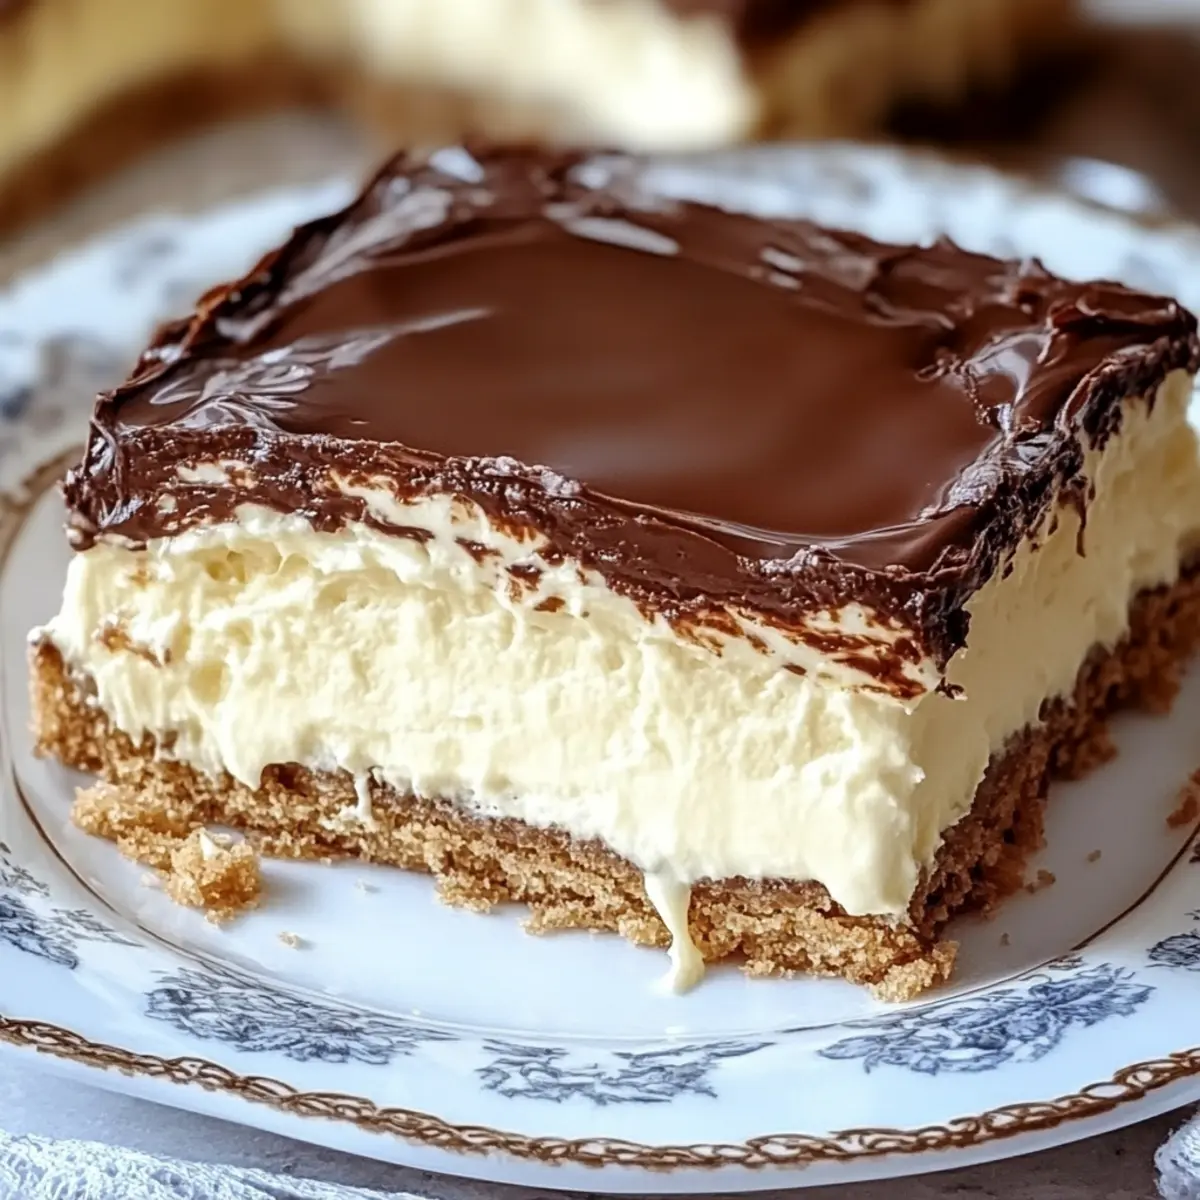
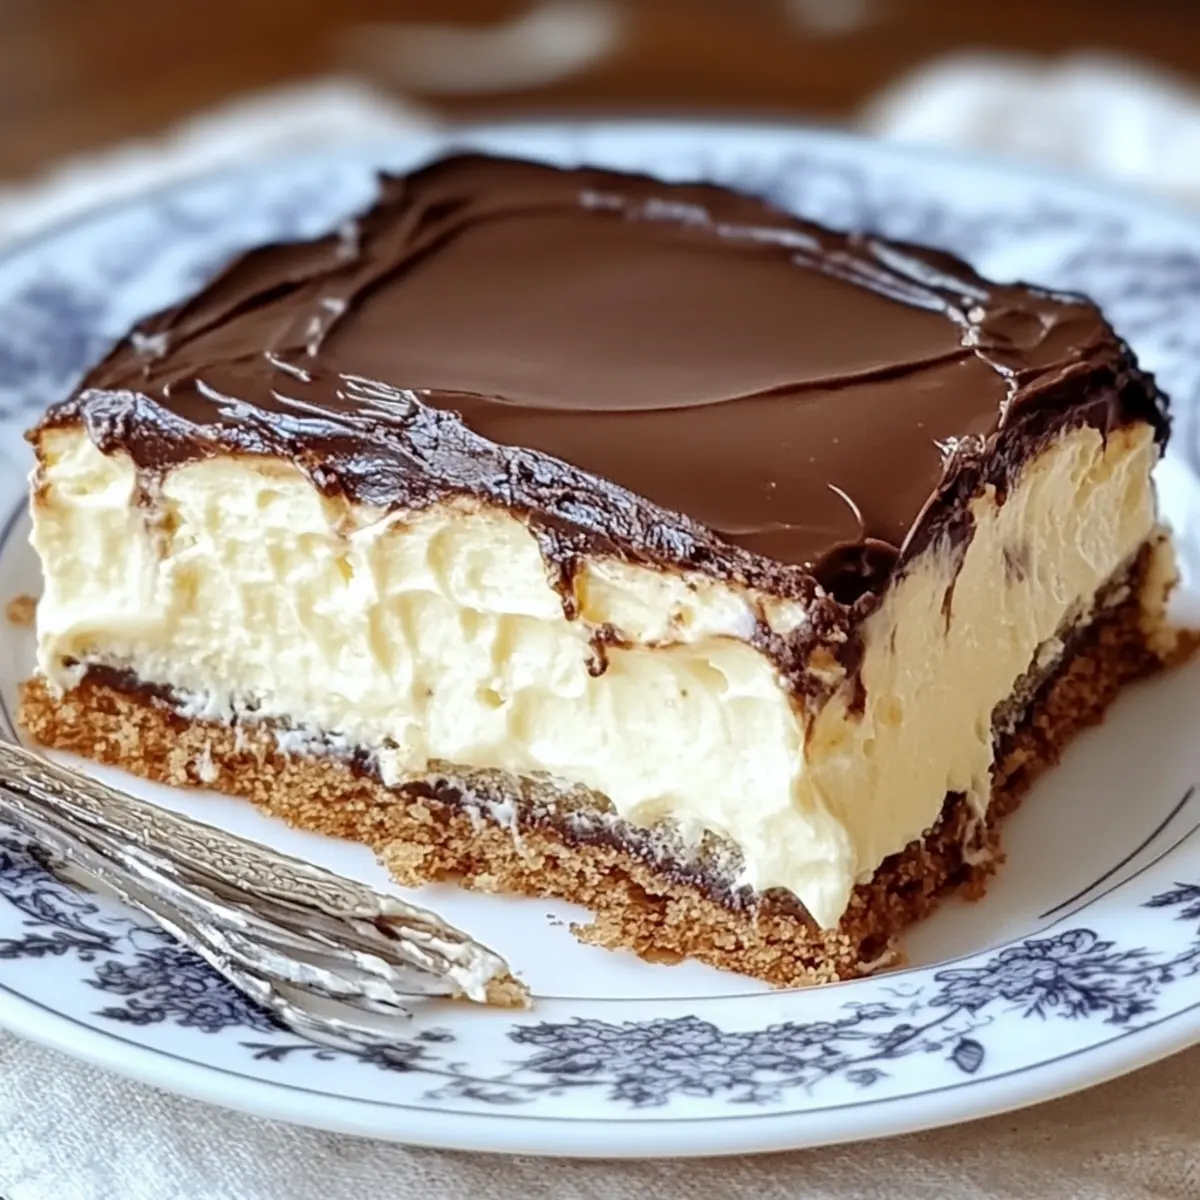
There's a certain joy in creating a dessert that dazzles without the fuss of oven time, and that's precisely where this No-Bake Eclair Cake shines. Picture this: sleek layers of creamy pudding nestled between crisp graham crackers, all topped with a rich, glossy chocolate glaze. It's like diving into the best of both worlds—classic French patisserie delight meets simple, effortless home cooking.
I first whipped this up on a whim, inspired by the notion that dessert shouldn't always require hours of labor. It's perfect for those moments when you want to impress at a gathering or simply treat yourself to something sweet after a long day. The beauty of this cake lies not just in its ease but also in its versatility; you can swap in different pudding flavors or even add fresh fruit layers for a personal touch. Join me as we embrace the art of no-bake desserts with this indulgent, creamy sensation that's destined to become your new go-to!
Why is No-Bake Eclair Cake a Must-Try?
Ease: This recipe is incredibly simple, making it perfect for both novice and experienced cooks. No baking required! Enjoy layers of creamy goodness with just a few quick steps.
Flavorful Layers: The contrast of luscious pudding and crunchy graham crackers creates a delightful texture that your taste buds will love.
Customizable: Feel free to sprinkle in your favorite fruits or switch up the pudding flavors for a delightful twist.
Impressive Presentation: With its shiny chocolate glaze, this cake looks stunning on any table, making it a crowd-pleaser at parties or family dinners.
Time-Saving: In just a few minutes of prep, your dessert is ready to chill. Perfect for when you’re short on time but still want to indulge!
Versatile Treat: Whether you're celebrating a special occasion or just indulging yourself, this No-Bake Eclair Cake can cater to any event!
No-Bake Eclair Cake Ingredients
• Dive into this luscious dessert with all the essentials you'll need!
For the Cake Layers
- Graham Crackers – Provides structure and crunch to each layer; feel free to substitute with any similar cookie or cracker if desired.
- Instant Vanilla Pudding – Adds creaminess and sweetness to the filling; consider using chocolate or butterscotch pudding for a delightful flavor twist.
- Cold Milk – Activates the pudding mix; always use cold for proper texture.
- Whipped Topping – Adds lightness and volume; can be replaced by homemade whipped cream if stabilized.
For the Chocolate Glaze
- Chocolate Chips – Forms the chocolate topping; can be substituted with semi-sweet or dark chocolate for a richer flavor.
- Butter – Used to melt with chocolate, contributing to a smooth texture.
- Vanilla Extract – Enhances flavor; optional but recommended for the glaze.
- Powdered Sugar – Sweetens the chocolate topping; adjust based on your desired sweetness level.
This No-Bake Eclair Cake comes together beautifully with these simple, accessible ingredients, making it a favorite for any dessert lover!
How to Make No-Bake Eclair Cake
-
Whisk Together: In a large bowl, combine the instant vanilla pudding and cold milk. Whisk vigorously until the mixture thickens into a creamy consistency, about 2 minutes.
-
Fold in Whipped Topping: Gently fold the whipped topping into the pudding mixture. Be careful not to deflate the whipped topping, ensuring a light, airy filling. Set this aside for later use.
-
Melt Chocolate: In a saucepan over low heat, melt the chocolate chips and butter together. Stir continuously until the mixture is smooth and glossy—this will be your rich chocolate glaze.
-
Add Flavor: Stir the vanilla extract and powdered sugar into the melted chocolate mixture until it is well combined and creamy. Adjust the sweetness by adding more powdered sugar if desired.
-
Layer Graham Crackers: In a 9x13 inch baking dish, layer half of the graham crackers on the bottom. Spread half of the prepared pudding mixture over the crackers evenly.
-
Repeat Layers: Add another layer of graham crackers on top of the pudding, followed by the remaining pudding mixture. Make sure to spread it till it covers all edges!
-
Final Layer: Create a final layer of graham crackers on top. This gives your dessert the perfect crunch!
-
Pour Chocolate Glaze: Pour the chocolate mixture evenly over the top layer of graham crackers, allowing it to coat every bit of the surface.
-
Refrigerate: Cover the dish and refrigerate for at least 4 hours, but overnight is best to allow the dessert to completely set and flavors to meld.
-
Serve & Enjoy: Once chilled, cut into squares and serve your delightful No-Bake Eclair Cake. Each bite will be a creamy, crunchy delight!
Optional: Garnish with fresh fruits or a sprinkle of powdered sugar for an extra touch of elegance.
Exact quantities are listed in the recipe card below.
Make Ahead Options
These No-Bake Eclair Cakes are perfect for meal prep enthusiasts! You can prepare the pudding filling and melt the chocolate glaze up to 24 hours in advance, allowing you to assemble everything just before serving. To do this, store the pudding mixture in an airtight container in the refrigerator to prevent it from thickening further, and keep the chocolate glaze covered at room temperature. When you're ready to enjoy, simply layer the graham crackers with the prepared pudding and chocolate glaze, then refrigerate the assembled cake for at least 4 hours (or overnight) to let the flavors meld beautifully. This way, you’ll have a show-stopping dessert ready with minimal effort on the day of your gathering!
No-Bake Eclair Cake Variations
Feel free to personalize your No-Bake Eclair Cake with these delectable twists and turns!
-
Fruity Layers: Add sliced strawberries or bananas between the layers for a refreshing burst of flavor. Each bite becomes a delightful balance of creaminess and fruitiness.
-
Pudding Swaps: Switch out the vanilla pudding for chocolate or butterscotch for exciting new flavor profiles. Just imagine how the rich butterscotch blends with the crunch—irresistible!
-
Caramel Drizzle: Drizzle warm caramel sauce over the chocolate topping to elevate your cake’s indulgence factor. The sweet, smooth caramel complements the layers perfectly.
-
Nutty Crunch: Sprinkle chopped nuts like pecans or almonds over the chocolate layer for added texture and flavor. The nutty crunch provides a delightful contrast to the creamy filling.
-
Peppermint Twist: For a seasonal spin, add crushed peppermint candies on top of the chocolate glaze. It’s a holiday favorite that brings a refreshing zing to every slice!
-
Chocolate Variations: Try semi-sweet or dark chocolate chips in the glaze to enhance depth and richness. These options bring an upscale feel to your dessert.
-
Coconut Rush:fold in sweetened shredded coconut into the pudding mix for tropical flair. The coconut brings a lovely texture and flavor that complements the creaminess beautifully.
-
Spicy Kick: Add a dash of cinnamon or even cayenne pepper to the chocolate glaze for an unexpected heat. This little kick will surprise your guests and leave them coming back for more!
Tips for the Best No-Bake Eclair Cake
-
Use Cold Milk: Ensure your milk is cold when making the pudding mix; this is crucial for achieving the right creamy texture.
-
Layer Evenly: Pay attention to spreading the pudding mixture evenly over the graham crackers; this ensures all layers set beautifully and maintain their structure.
-
Chill Time: Patience is key—refrigerate the cake overnight for optimal flavor and texture; it allows the layers to meld perfectly.
-
Customize Freely: Feel free to experiment! Substitute different pudding flavors or add fresh fruit layers to elevate your No-Bake Eclair Cake.
-
Adjust Sweetness: Taste the chocolate glaze before pouring it on the cake; adjust powdered sugar in the glaze based on your preferred sweetness level.
What to Serve with No-Bake Eclair Cake?
Looking to create a delightful gathering around your creamy dessert creation? Here’s how you can elevate your meal!
- Fresh Berries: Bright and juicy, a medley of strawberries and blueberries adds a tart contrast that perfectly balances the cake's richness.
- Whipped Cream: A dollop of fluffy whipped cream enhances the dessert's creaminess while adding an elegant touch of sweetness. Pairing this with your eclair cake makes each bite even more indulgent!
- Chocolate Ice Cream: The smoothness of chocolate ice cream is a heavenly match for the creamy layers of your no-bake cake, ensuring chocolate lovers are fully satisfied.
- Coffee: A rich cup of coffee complements the sweet flavors, providing a cozy warmth that contrasts beautifully with each slice of chilled cake.
- Mint Chocolate Chip Cookies: These add a crunchy texture while introducing a refreshing minty twist, creating a delightful sensory experience alongside your cake. Enjoy them after a chilled slice!
- Caramel Sauce Drizzle: Drizzling some caramel over each slice not only introduces a buttery sweetness but also creates a stunning visual appeal that will impress guests!
- Fruit Salad: A bowl of colorful, fresh fruit offers a light and refreshing counterbalance to the decadent cake, enhancing the meal with a burst of flavor.
- Milkshake: Pair your dessert with a thick chocolate milkshake, creating a nostalgic treat that feels indulgent and special.
Each of these pairings will invite smiles and compliments, turning an already sweet moment into an unforgettable experience!
How to Store and Freeze No-Bake Eclair Cake
Fridge: Refrigerate leftovers in an airtight container for up to 3 days. This ensures that your No-Bake Eclair Cake stays fresh and maintains its creamy texture.
Freezer: If you need to store it longer, you can freeze individual slices wrapped tightly in plastic wrap, then place them in a freezer-safe container. Frozen portions are best enjoyed within 1-2 months for optimal flavor.
Thawing: To enjoy frozen slices, simply transfer them to the fridge 2-4 hours before serving, allowing them to thaw gradually while retaining their delicious taste.
Reheating: There's no need to reheat this cake; it's best served chilled. Just grab a slice, and let each creamy layer refresh your day!
No-Bake Eclair Cake Recipe FAQs
How should I select the right graham crackers?
When choosing graham crackers, look for ones that are sturdy and not broken; this will help maintain the cake's structure. If you’re feeling adventurous, you can experiment with flavored varieties, such as honey or cinnamon, to add an additional flavor dimension to your No-Bake Eclair Cake!
What’s the best way to store leftovers?
Refrigerate leftovers in an airtight container for up to 3 days. This storage method keeps the cake fresh and preserves its creamy filling. If you notice any dark spots or moisture buildup, it’s a sign that it might be best to consume it sooner rather than later!
Can I freeze this cake, and how?
Absolutely! To freeze your No-Bake Eclair Cake, cut it into individual slices. Wrap each piece tightly in plastic wrap and place them in a freezer-safe container. It will keep well for 1-2 months. When you're ready to enjoy, just transfer a slice to the fridge for 2-4 hours to thaw—it’s best served chilled!
What should I do if my pudding mixture isn't thickening?
If your pudding isn’t thickening after whisking for a few minutes, double-check that you're using cold milk; warm milk will prevent it from setting properly. If it’s still runny, it may need a few more minutes of whisking, or consider slowly folding in some additional whipped topping for an extra boost in creaminess.
Can I make this cake gluten-free?
Yes! To make a gluten-free No-Bake Eclair Cake, simply substitute the graham crackers with a gluten-free alternative, such as gluten-free vanilla wafers or cookie crumbs. Additionally, ensure all other ingredients are gluten-free, including the pudding mix and whipped topping. Enjoy every delicious bite without worry!
Irresistibly Easy No-Bake Eclair Cake You'll Love to Make
Ingredients
Equipment
Method
- In a large bowl, whisk together the instant vanilla pudding and cold milk for about 2 minutes until thickened.
- Gently fold in the whipped topping into the pudding mixture and set aside.
- Melt the chocolate chips and butter together in a saucepan over low heat until smooth and glossy.
- Stir in the vanilla extract and powdered sugar, adjusting sweetness as desired.
- Layer half of the graham crackers in a baking dish, followed by half of the pudding mixture.
- Repeat layers with remaining graham crackers and pudding mixture.
- Top with a final layer of graham crackers.
- Pour the chocolate glaze evenly over the top and refrigerate for at least 4 hours.
- Cut into squares and serve chilled.

Leave a Reply